
Grain & RAW+JPG Switching support.
Hot on the heels of our iOS 12 & Hashtags release last month we are thrilled to bring you one of our most requested features: Film Grain. Combined with a wide set of RAW and Portrait workflow improvements.
Film Grain — Free
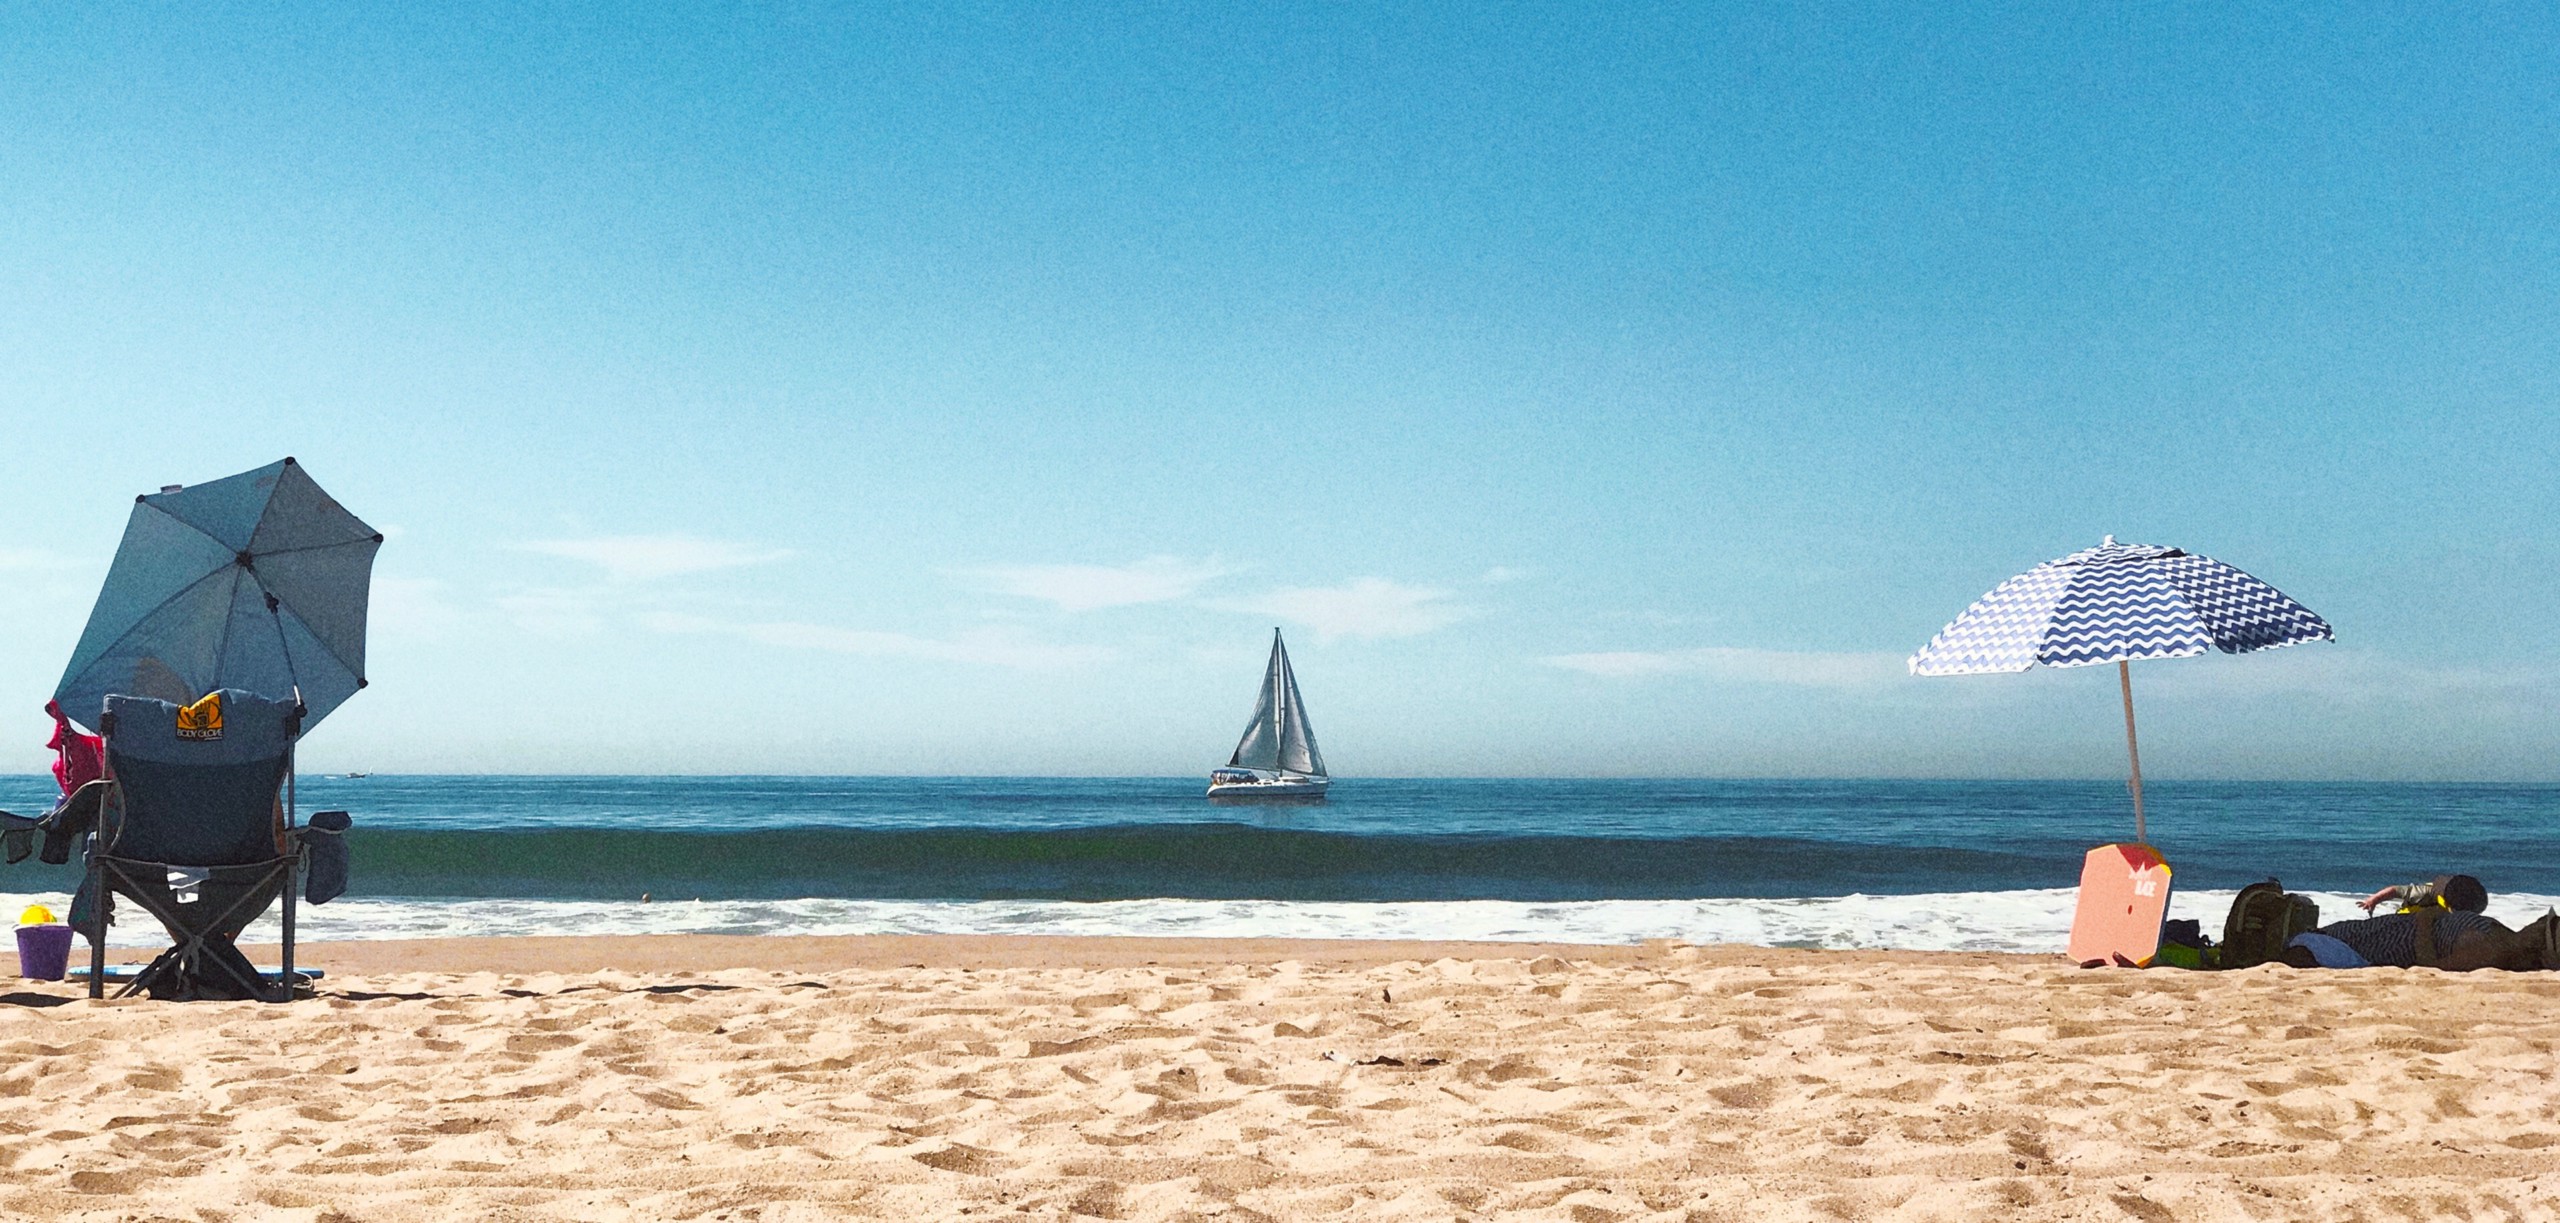
There are many technical reasons why you may want to introduce film grain to your photo, and we’ll get to them, but artistically, it’s about richness and nostalgia. It introduces an emotionality and a mood to your photo that the crisp, clean, de-noised digital images of today cannot capture. Grain adds texture into otherwise flat regions of your image, giving your eye something to look at, something to notice.
When we set out to create our Grain tool, we wanted to capture that essence while maintaining the simplicity of Darkroom. We could have exposed multiple sliders and knobs for all the variables, but we challenged ourselves to give you a single tool that encapsulates the expressive range of film grain.
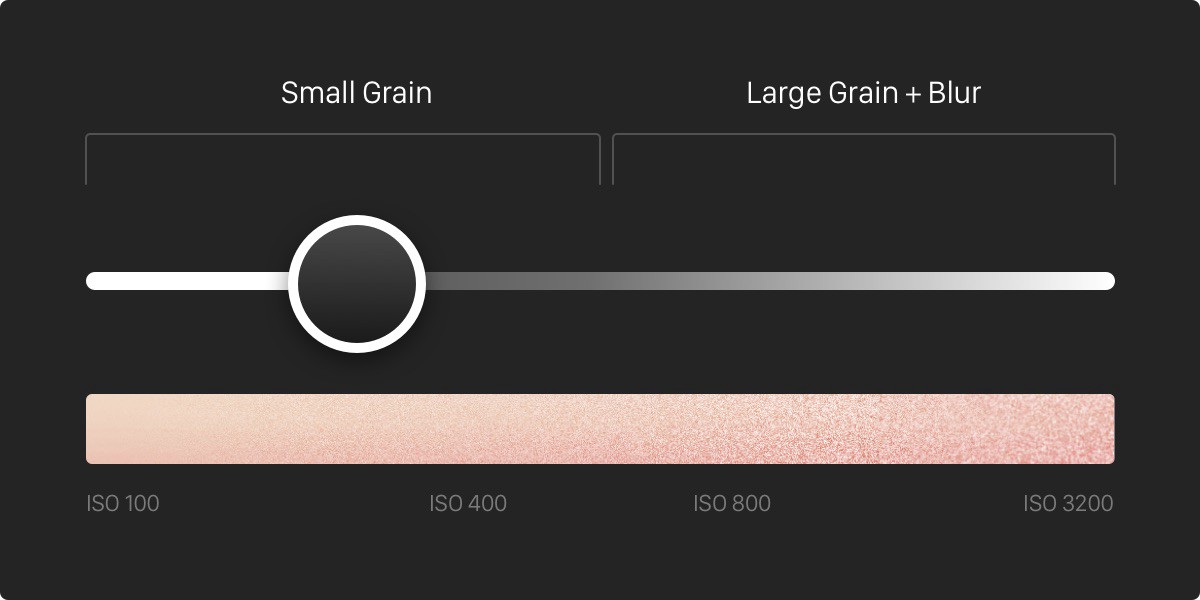
With analog film, the speed or ISO of the the film you choose is what defines the characteristics of the grain. The faster the film, the larger the grain, and the easier it is to shoot in darker scenes. The slower the film, the smaller the grain, the more suited to shoot in bright scenes.
The size of silver halide grains in the emulsion affects film sensitivity, which is related to granularity because larger grains give film greater sensitivity to light.
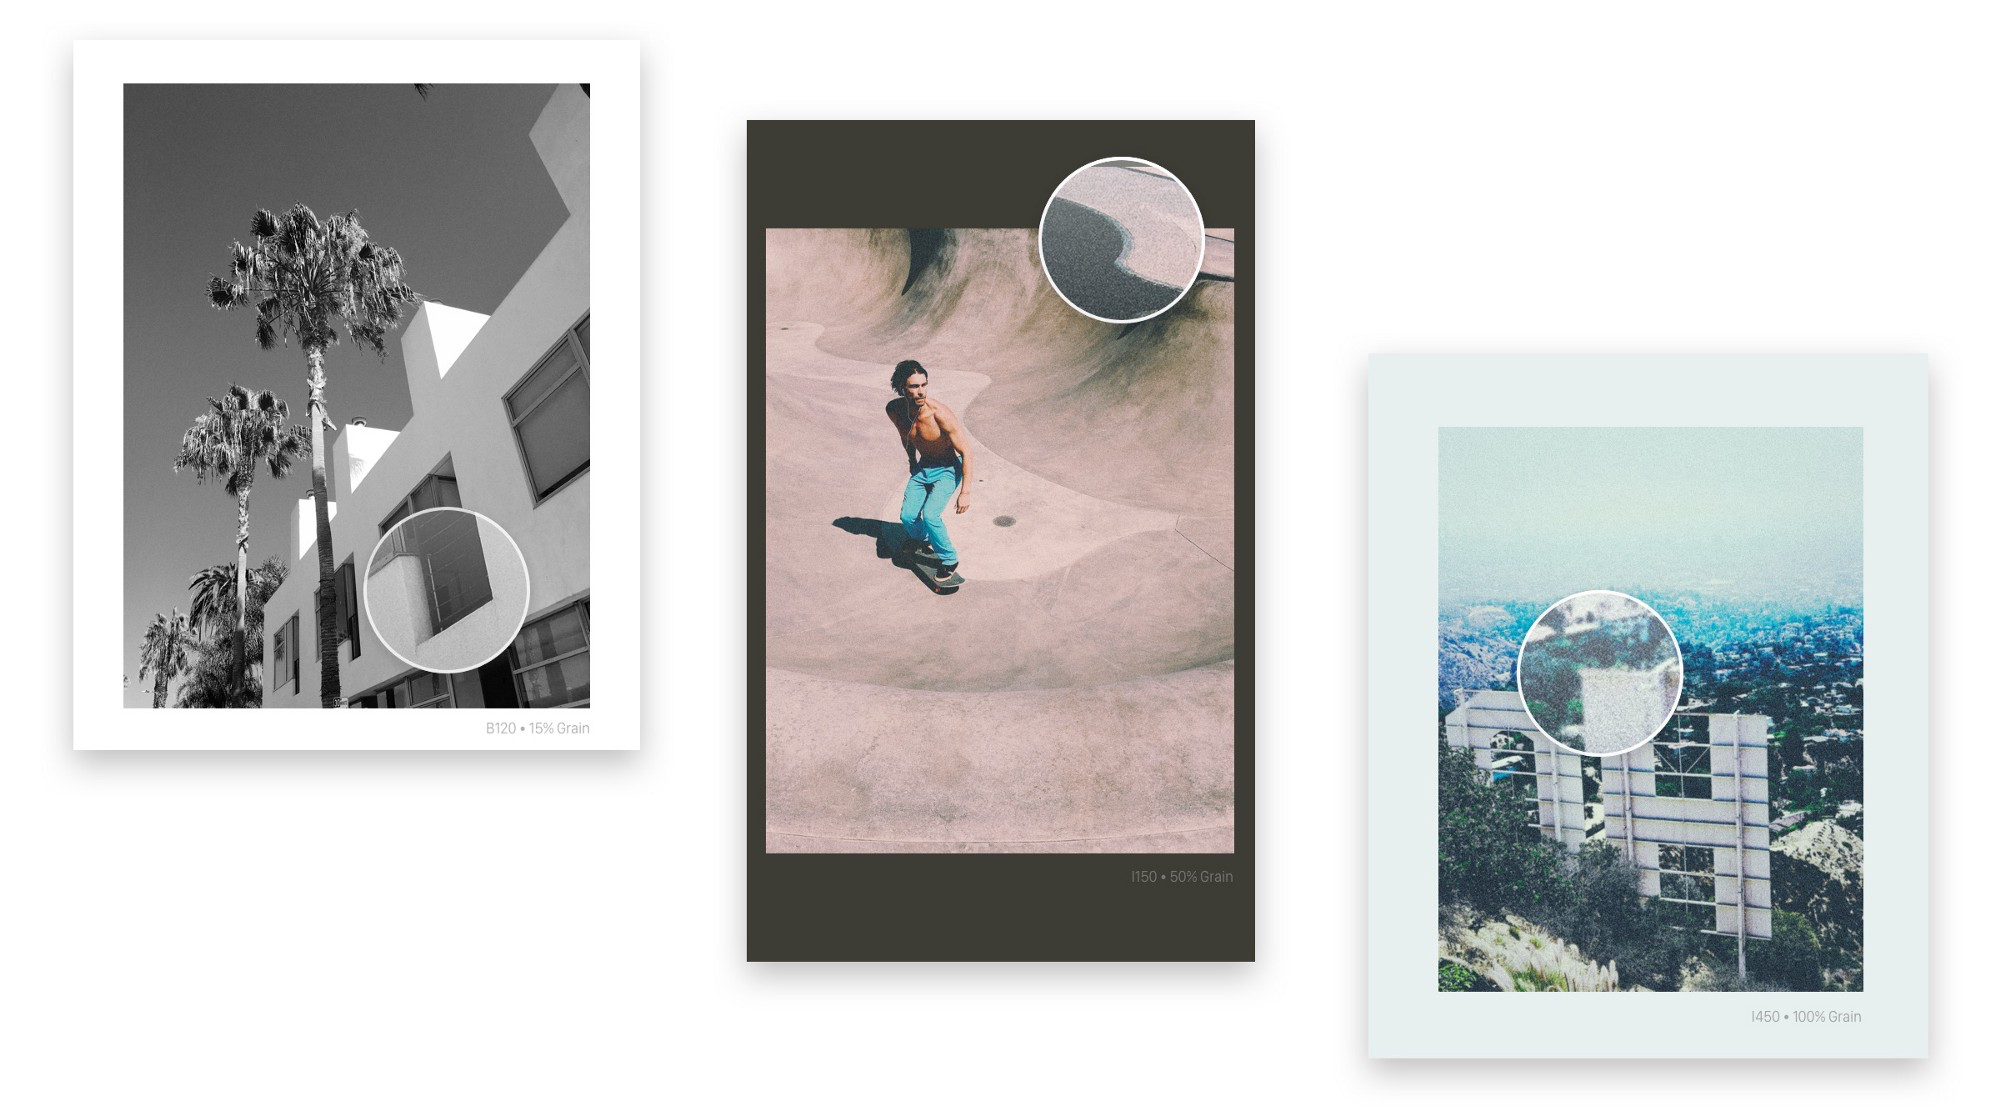
We effectively modeled our Grain Tool slider after film speed. When you drag the grain slider from left to right the grain starts of subtle and small, and as you move it to the right it becomes bigger and eventually samples around the grain to simulate the softness of high-ISO film. The result is a Grain tool that feels intuitive and simple, but doesn’t hold back any expressive creativity.
Grain for Live Photos
A powerful aspect of how we built our Grain Tool is that it also works with Live Photos. We went through the effort to generate a unique new grain map for every frame to make sure it truly looks like the analog movement of film grain. Grain on video provides a whole other feel, and truly amplifies the nostalgic effect even beyond that of a still photo.
Watch this inspiring youtube short by Nerdwriter1 that does an incredible job of explaining and illustrating the power of Film Grain.
When to Use Grain?
We already talked about how grain can be used to set a nostalgic mood. But it can also be used to hide issues in your photos:
- Compression Artifacts: JPG images can be great for capturing great-looking photos off-the-camera. However, JPG photos are also compressed, and when pushed during edits can introduce banding or artifacts in areas that used to be smooth. The Grain tool hides these artifacts by blending these edges.
- Aggressive Noise Reduction: iOS JPGs can sometimes be overly aggressively processed to decrease noise reduction, creating distinct sharp areas of color where some gradation is desired. The Grain tool can step in to blend these areas into each other.
- Unsharpness: Not every photo we capture is perfectly sharp. In cases where the Sharpness tool can’t fix it, you can hide the problem using grain. By overlaying the photo with the grain’s sharp texture, creating the illusion of sharpness.
RAW + JPG — Free
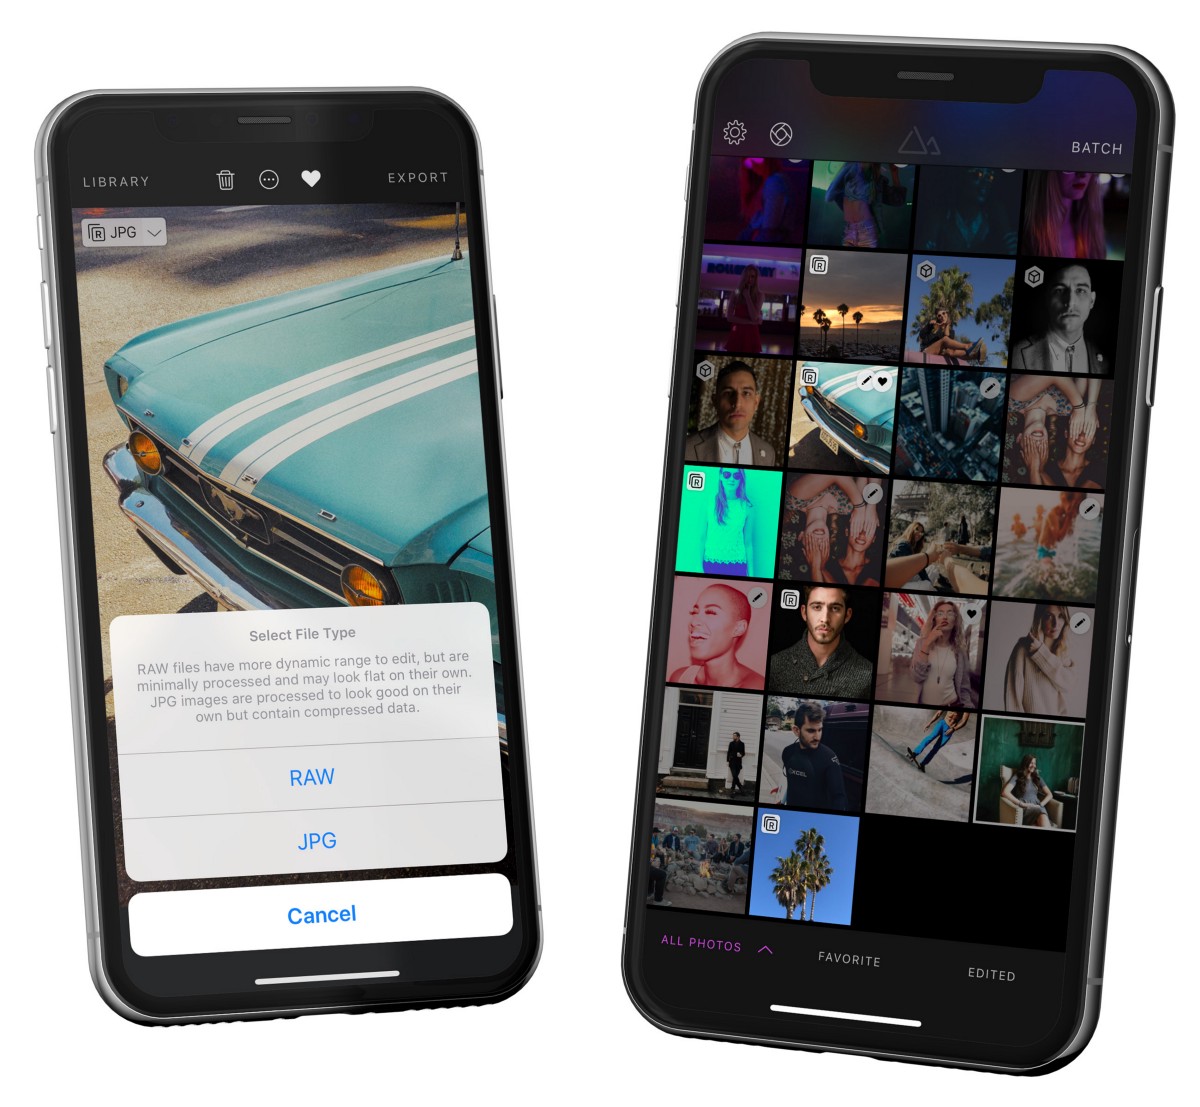
We’re excited to be the first app on iOS to support seamlessly switching between RAW and JPG when available.
One of our core philosophies is that good tools should help you manage and declutter your library. We were thrilled when our good friends at Halide became the first and only app to support capturing RAW+JPG in a combined single asset that does just that**.** So now in our library there is one asset with a new icon, indicating RAW+JPG contains two files to switch between. And when viewing/editing the photo there is a type switch button in the top left.
Modern JPGs pack an enormous amount of computational brains behind them. Whether with Smart HDR or exposure bracketing or any other number of recent enhancements. RAW photos on the other hand, are unedited single-frame capture. This makes switching from RAW to JPG very valuable, giving you the power to choose the best version for each situation.
App-Wide Refinements
Our commitment to refinement and quality doesn’t stop with adding bleeding-edge new features. We’ve also taken a hard look across the app and added many little improvements throughout the app. For a full list of changes, please refer to our updates page. Some highlights:
- Added a convenient “Export Options” shortcut button to the export sheet so you can easily update copyright/location/file format settings while exporting.
- Added library badges to differentiate between RAW and RAW+JPEG assets, and updated the RAW badge.
- Improved the handling of RAW files with corrupt metadata, which now will still render correctly after initializing the RAW engine.
- Improved the handling of Portrait images that fail to load depth data, they will now appear as JPEG images that can still be edited.
- Improved the several reliability issues around downloading from iCloud.
- Fixed an issue that caused Halide portrait photos to appear without blur on iPhone XS-and-newer devices.
- Fixed a bug where rotating a portrait photo caused an over-rotation of the depth map.
- Fixed issues that caused touch events to be missed while scrolling through library.
- Fixed an issue where a couple of areas of the app weren’t properly translated.
Making progress, one step at a time… The Darkroom Team

