ProRAW vs JPEG vs RAW in Darkroom (And a whoooole lot more)
Important: The Tone Map slider is no longer available as of the release of Darkroom 6.2 in November 2022, due to its significant performance impact when used alongside new features. However, users can now rely on the enhanced capabilities of the Highlights & Shadows tools to recover details in ProRAW photos, along with the blacks and whites sliders, to achieve comparable results to the tone map slider.
With iOS 14.3 finally out, and iPhone 12 Pros making their way into people’s hands, Darkroom is ready as always with native support for ProRAW.
We’re also updating our iPhone & iPad apps with all the new features, performance improvements, and bug fixes we built into our latest Darkroom macOS release. From now on, the three platforms will move forward together.
ProRAW for iOS 14.3: Have your cake and eat it too
tl;dr. ProRAW gives you the convenience of processed JPEGs with the editing range of a RAW photo, without either of their flaws. The only negative is the file size.

In a greatly simplified sense, when you take a photo on the iPhone, the Camera app captures raw information from the scene. This form is rich with detail and high in dynamic range, but it’s flat and generally dark. RAW images are a direct representation of that scene information. RAW files are optimized for preserving details & editing latitude, not getting you a usable image.
Using the stock Camera app, iOS then takes this RAW photo and processes it through a magic box of HDR, Night Mode, Deep Fusion, AI…the works. When it’s done, you get a beautifully processed JPEG, with a small file size.
However, if you don’t like what the magic box did to your photo, you’re out of luck. The raw data is thrown away at capture-time. Worse, your photo is now compressed. When you’re editing in an app like Darkroom, if you stretch the colors too much, you’ll start noticing nasty blocks and artifacts show up.
Alternatively, you can shoot in RAW and keep all that high quality data, but you give up everything that magic box was doing for you. As a result, the RAW photo doesn’t match the processed preview you saw when capturing, the file is large, and it’s time consuming to edit.
The choice between JPEG convenience vs RAW flexibility has generated debate among photographers since the onset of digital photography.
Until ProRAW.
No More Compromises: ProRAW is Here!
Once you enable ProRAW in Settings, you can start capturing photo like a regular mobile photographer. Remember to make sure your highlights are not clipped. You don’t need to make special accommodations for shooting ProRAW.
So what makes ProRAW different?
Just like before, iOS captures the RAW image and all the information that the magic box needs to do its magic. After spitting out a beautiful JPEG, it doesn’t throw away the source material — Neither the RAW image nor the materials that the magic box needs to do its work.
In Darkroom, when you open a ProRAW photo, we first prepare the RAW image, then most of our exposure-correction sliders do their work, and THEN we pass it to the magic box. This results in a beautiful, tone-mapped 12-bit image that the rest of our pipeline processes for color grading.
This allows us to provide you a photo with all the convenience of JPEG processing, but without paying the cost of JPEG compression. Best of all, it’s still a RAW photo, so you get the full editing latitude you expect, but without the inconvenience!
p.s. The file can be as big as 30MB. That’s the only problem.
ProRAW in Darkroom
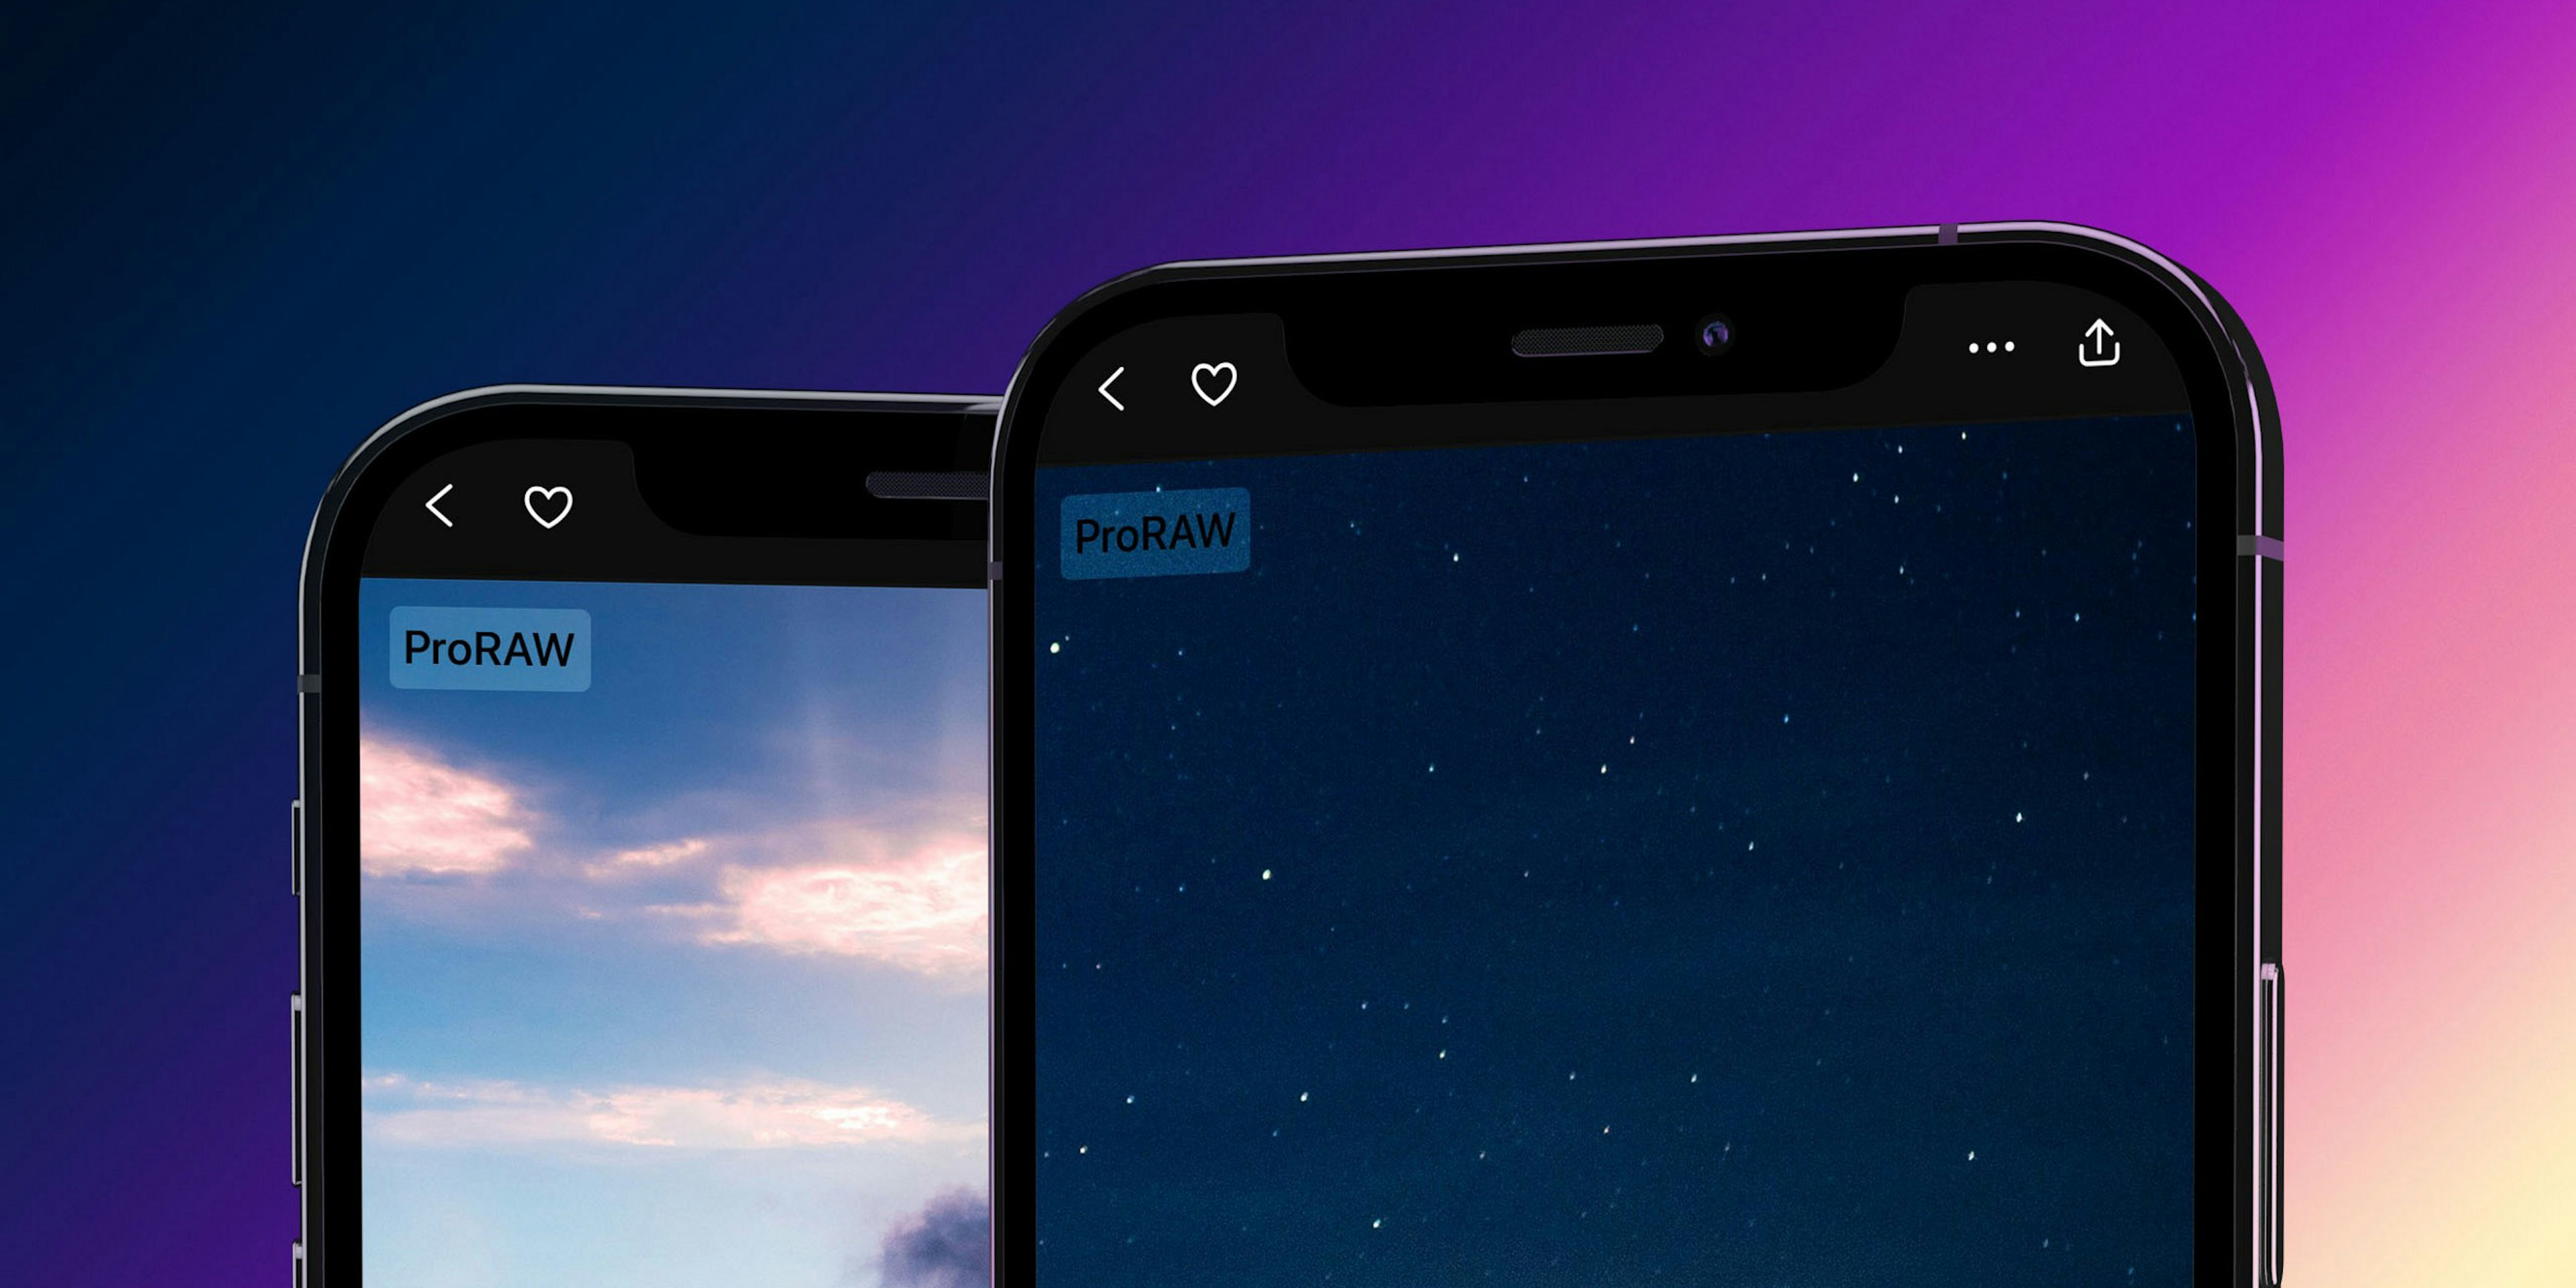
Darkroom is now ProRAW-aware. When we notice a ProRAW photo, we’ll indicate it with a new badge, and you’ll notice a new Tone Map slider.

In the context of RAW development, local tone mapping enables you to boost the shadows and recover highlights while preserving details. However, if overdone, it can result in the “HDR effect”, which can make your photos look flat.
The Tone Map slider allows you to control the strength of this effect. By default, we leave it at 100% so your ProRAW images in Darkroom match your preview in the Photos app. You can disable all local tone mapping by moving the slider down all the way to 0%, increasing contrast, and making your photos look more natural, although depending on the shooting conditions, your photo may be very dark.
In our own testing, we found ourselves often leaving the Tone Map to 100%, but sometimes found that 60–70% preserves much of the highlight & shadow recovery we need, without introducing the intense local contrast/HDR effects.
Our dear friends at Halide have written an amazing article demonstrating the building blocks of RAW, JPEGs, and what makes ProRAW different. If you’re interested in the nitty-gritty details, be sure to give it a read.
We’re so excited to see what you create using ProRAW.
Bringing Darkroom 5 to the iPhone & iPad

Along with the addition of ProRAW support, this update brings to the iPhone & iPad months of hard work that went into Darkroom 5's macOS Big Sur update.
Practically every part of the app has been touched, improved, iterated on, and updated to support the Mac. Best of all, being a Universal app, all the work we did to extend keyboard and mouse support carries through on the iPad. This also extends to context menus, multi-window support, drag-and-drop, and more.

You’ll also notice the app feels more responsive as you navigate between photos, and most importantly, images render consistently at a high resolution, rather than switching to low res previews when you zoom, scroll, or navigate through the app.
There are too many individual bug fixes to mention them all here (most notably, we fixed the rendering regressions for Portrait photos on iPhone 12 and iOS 14), so head on over to our updates page to see a full list.

Despite the challenges of this year, we’re so thankful for your continued loyalty and support and can’t wait to share with you all the exciting stuff we have coming down the line in 2021.
The Darkroom Team


