10 things you likely didn’t know about Darkroom
These are our favorite tips and tricks on power features we have carefully added to Darkroom over the past 5 years. These have often gotten lost in our big releases, but these little details have a big impact on the overall workflow that makes our app so uniquely fast, easy, and intuitive to use. And even helped us win an Apple Design Award! Whether you’re new to Darkroom or a pro, we are sure there’s something in here that will surprise you.
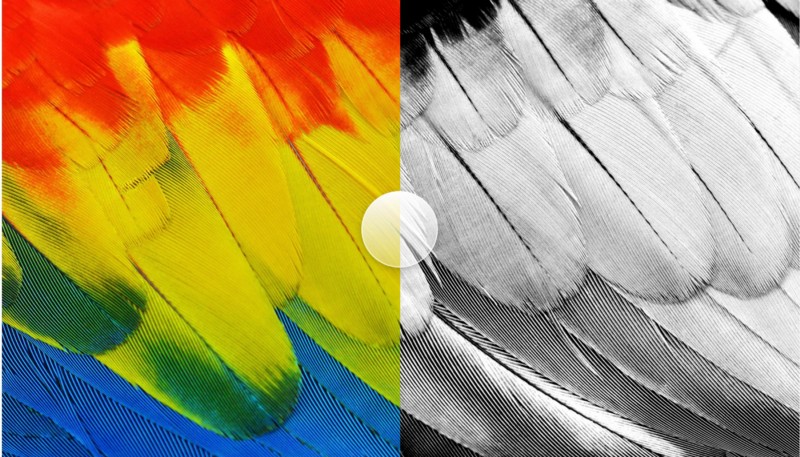
1. Tap-and-hold on the photo to see the original
In order to make edits, it quickly becomes paramount that you can see what your starting point was at any point in your editing process. It’s important to see how far you pushed your brightness, or the over all color adjustments. That’s why whenever you are viewing or editing a photo or video you can simply tap-and-hold on a photo to see what the original looked like.
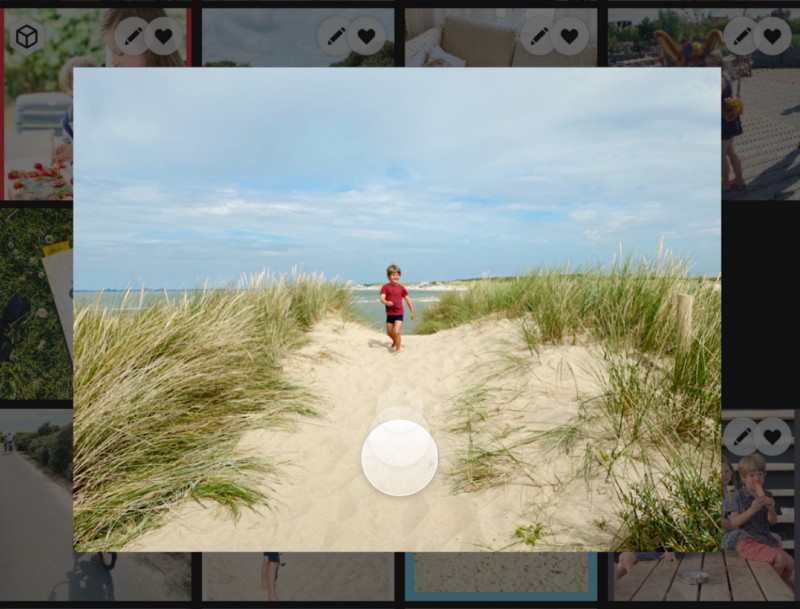
2. Swipe a photo down to get back to the Library
Being able to move through Darkroom one handed has always been an explicit goal for us. Being able to quickly swipe down a photo while editing means you can browse, open, edit, and close with just one finger, your thumb! Bonus tip: you can even swipe left/right to quickly navigate between photos!
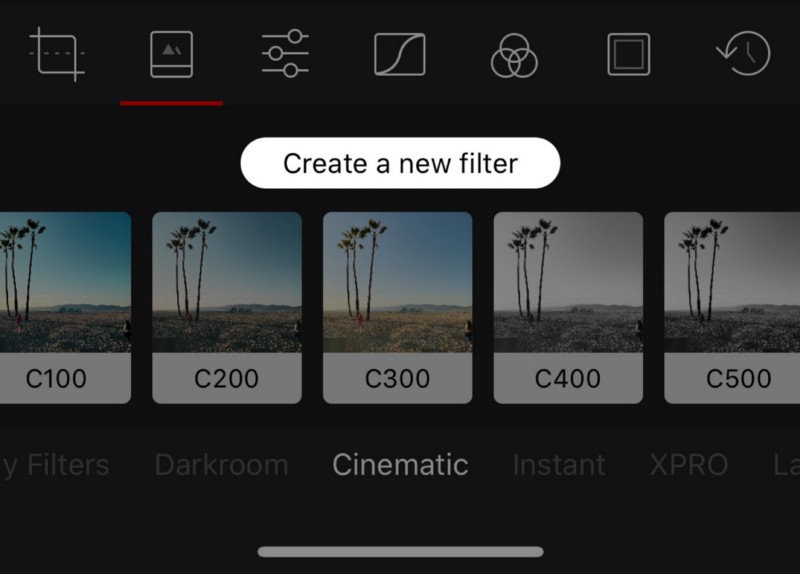
3. Create your own filter
Yes, Darkroom comes with a large variety of creative filters ready for use. But you can also create your own! All you have to do is:
- Make some awesome edits to your photo.
- Head to the Filters tool.
- Tap the “Create Filter” button.
- Give it a short name.
Et voilà, now you have your own filter that you can easily reuse with just a tap. Not only will the photos you share look more consistent, but you’ll also edit and share a lot faster!
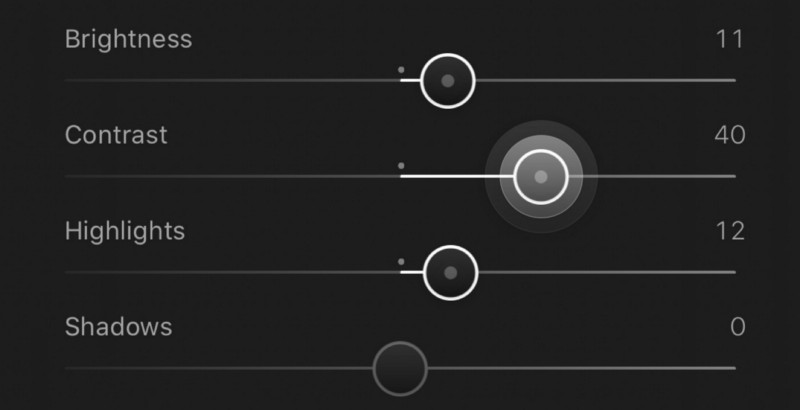
4. Double-tap on a slider knob to reset
This is a very quick little trick. When you want to undo or reset any slider edit. Just double-tap on the slider handle in question and we will reset the edit to 0 for you. That’s it.
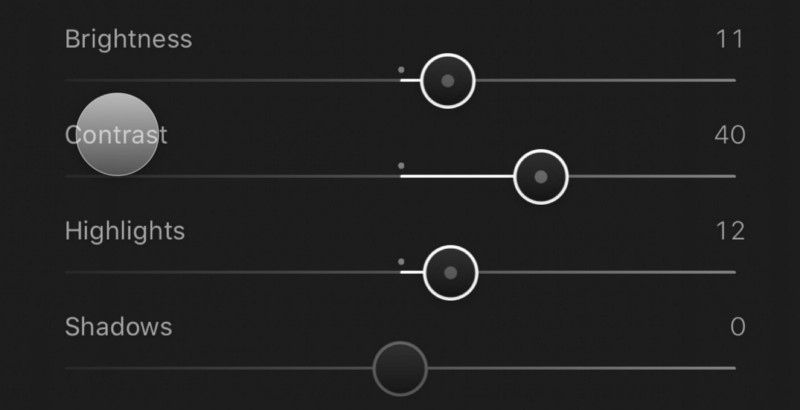
5. Tap-and-hold on slider label to temporarily hide edits
This a great shortcut to figure out what edit is causing which effect in your photo, and instead of sliding around, or resetting the edit and having to put it back, tap-and-holding the label temporarily hides the edit until you let go.
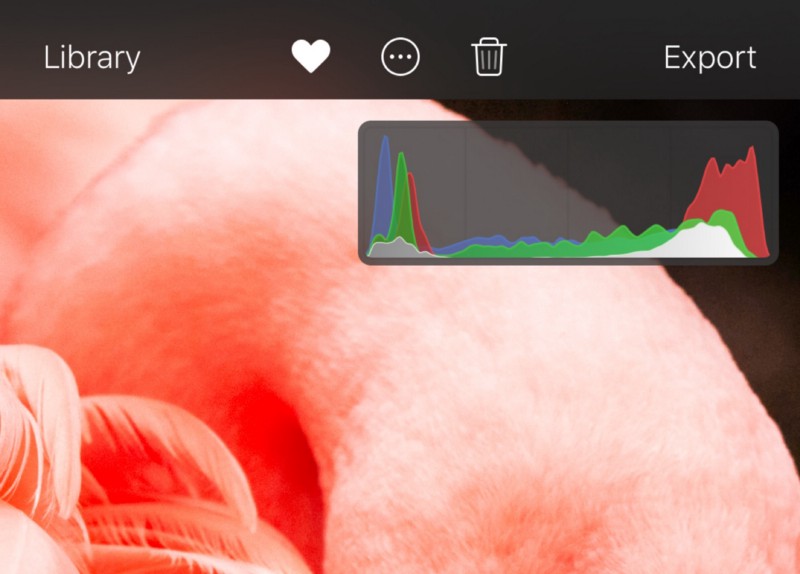
6. Edit using the Histogram
Less of a trick, and more of a tip. On iPhone we hide the histogram by default, as it will display on top of your photo, and there is a bit of a learning curve to understanding and using it. But on iPad we always show it. Knowing about, and taking the time to work with our histogram will help you more easily spot and fix problems with your photos objectively, in a way that eye-sight alone isn’t suited for. More specifically, histograms help you fix exposure and color problems in your image. Head to our in-depth release post on the Histogram to learn all the basics.
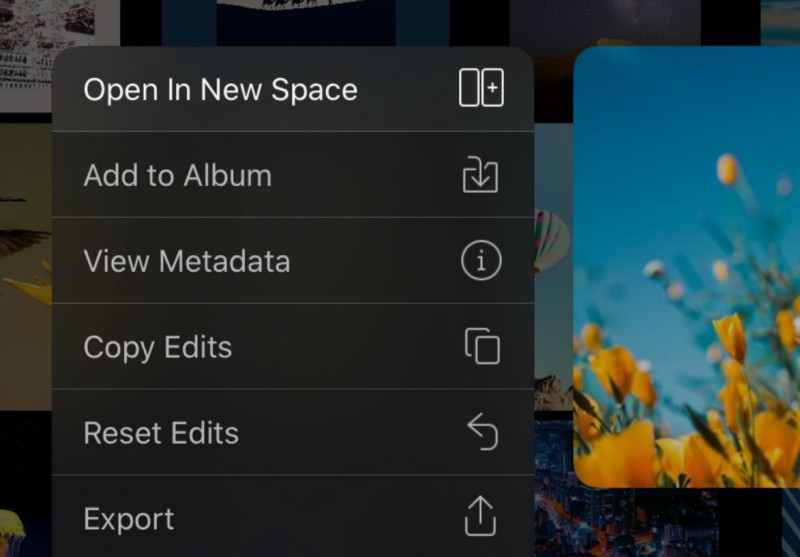
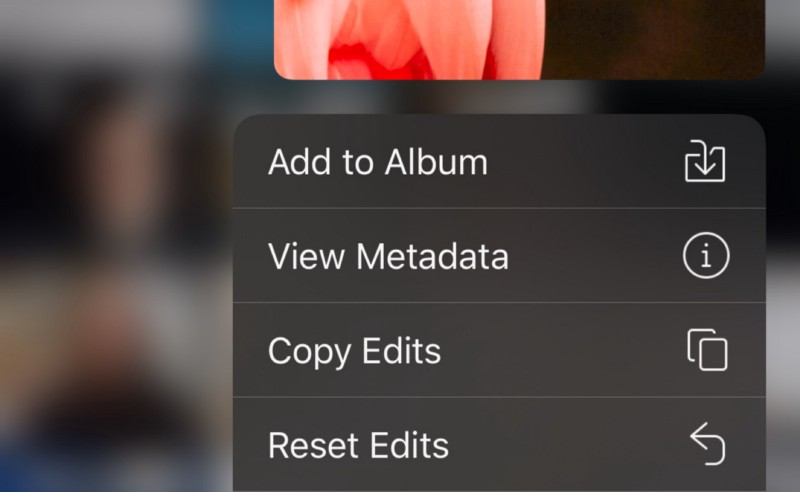
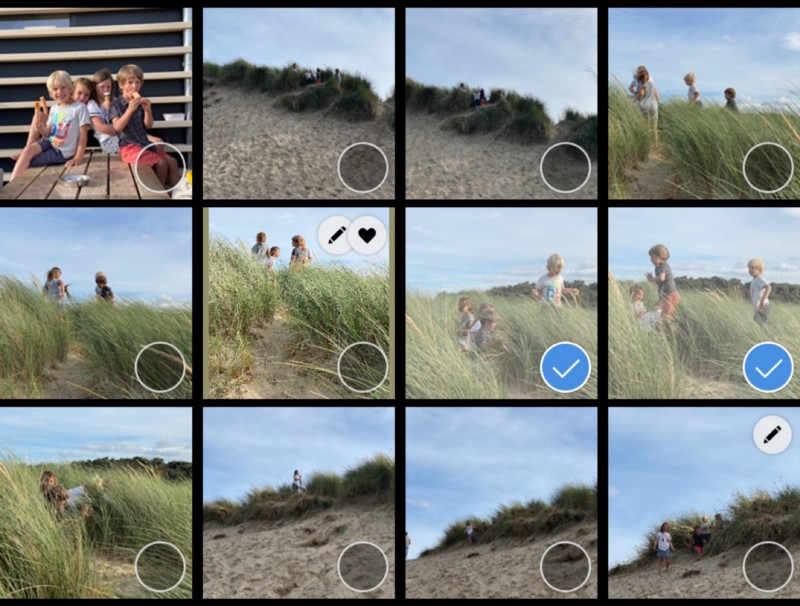
7. Tap-and-hold menu in the Library and Photo-strip
Did you know you didn’t have to open a photo to do a wide variety of actions? You can actually just tap-hold on a photo in your Library photo grid (or on iPad our Photostrip, or right click on the iPad trackpad) to access the menu. From here you can favorite, delete, hide, export, reset, revert, copy edits, view metadata, or add to an album with just two quick taps!
8. Batch process your photos
This likely sounds more complicated than it actually is. All you have to do is:
- Pick a photo with edits that you like.
- Copy its edits from the History tool, the (…) menu, or the Library Actions menu (See tip #7).
- Tap the “Batch” button in library (top right), and paste those copied edits on photos you would also like to have those same edits.
See, that isn’t so complicated, now is it! But it is a huge productivity win. Especially if you went on a family weekend outing and have some great shots you wanna share quickly. Combine that with creating your own filters and you will fly through editing and sharing volumes of quality photos.
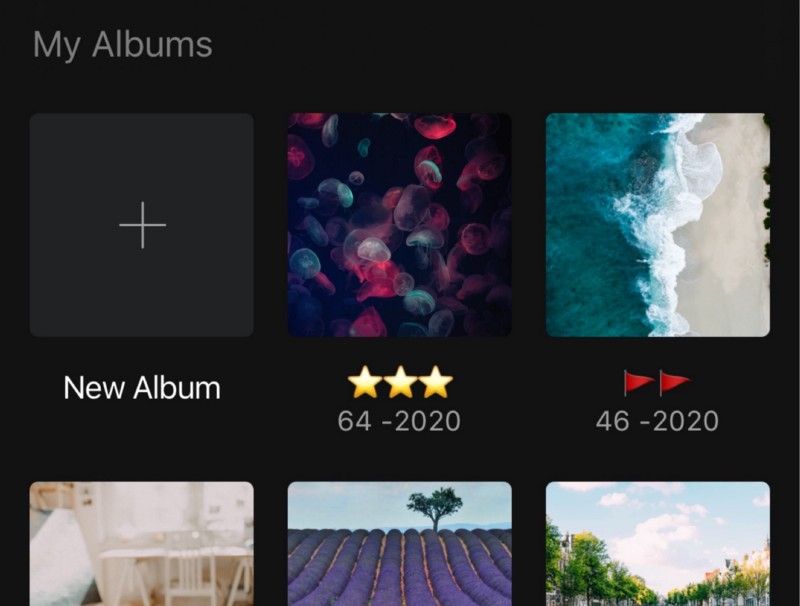
9. Manage your photos with Albums
Albums are a fundamental tool of any editing workflow. Using them properly can dramatically speed up your work whether you use it to manage family trips, working on large professional projects, maintaining an ongoing photography series, or simply sharing stories. They are particularly helpful to use when you are using multiple different apps to edit your photos, by using an app like TouchRetouch for example. Or to cull your photos and videos selection down. We specifically love using Emoji in our album names to make them stand out! Head to our in-depth release post on the Album management to learn more.
10. Edit multiple photos and videos at once on iPad with Spaces
Last, but certainly not least. On Darkroom for iPad you can open multiple Spaces (windows) of Darkroom side-by-side. The iPad Split View and Slide Over modes unlock a whole new set of editing possibilities, letting you work exactly how you want in even more intuitive ways. To do this, simply tap-and-hold on a photo in the Library and drag it to the left or right edge of the screen to open an additional editing space. Or tap on “Open in New Space” option in the menu that appears. This enables you to also open the same photo in two spaces side by side. Or even to open two Darkroom libraries side by side.