Create your own custom preset
In this guide, we'll dive into the key considerations for crafting your own presets. We'll walk you through a step-by-step process for developing your unique style, experimenting and refining your preset, and then sharing it with the Darkroom community.
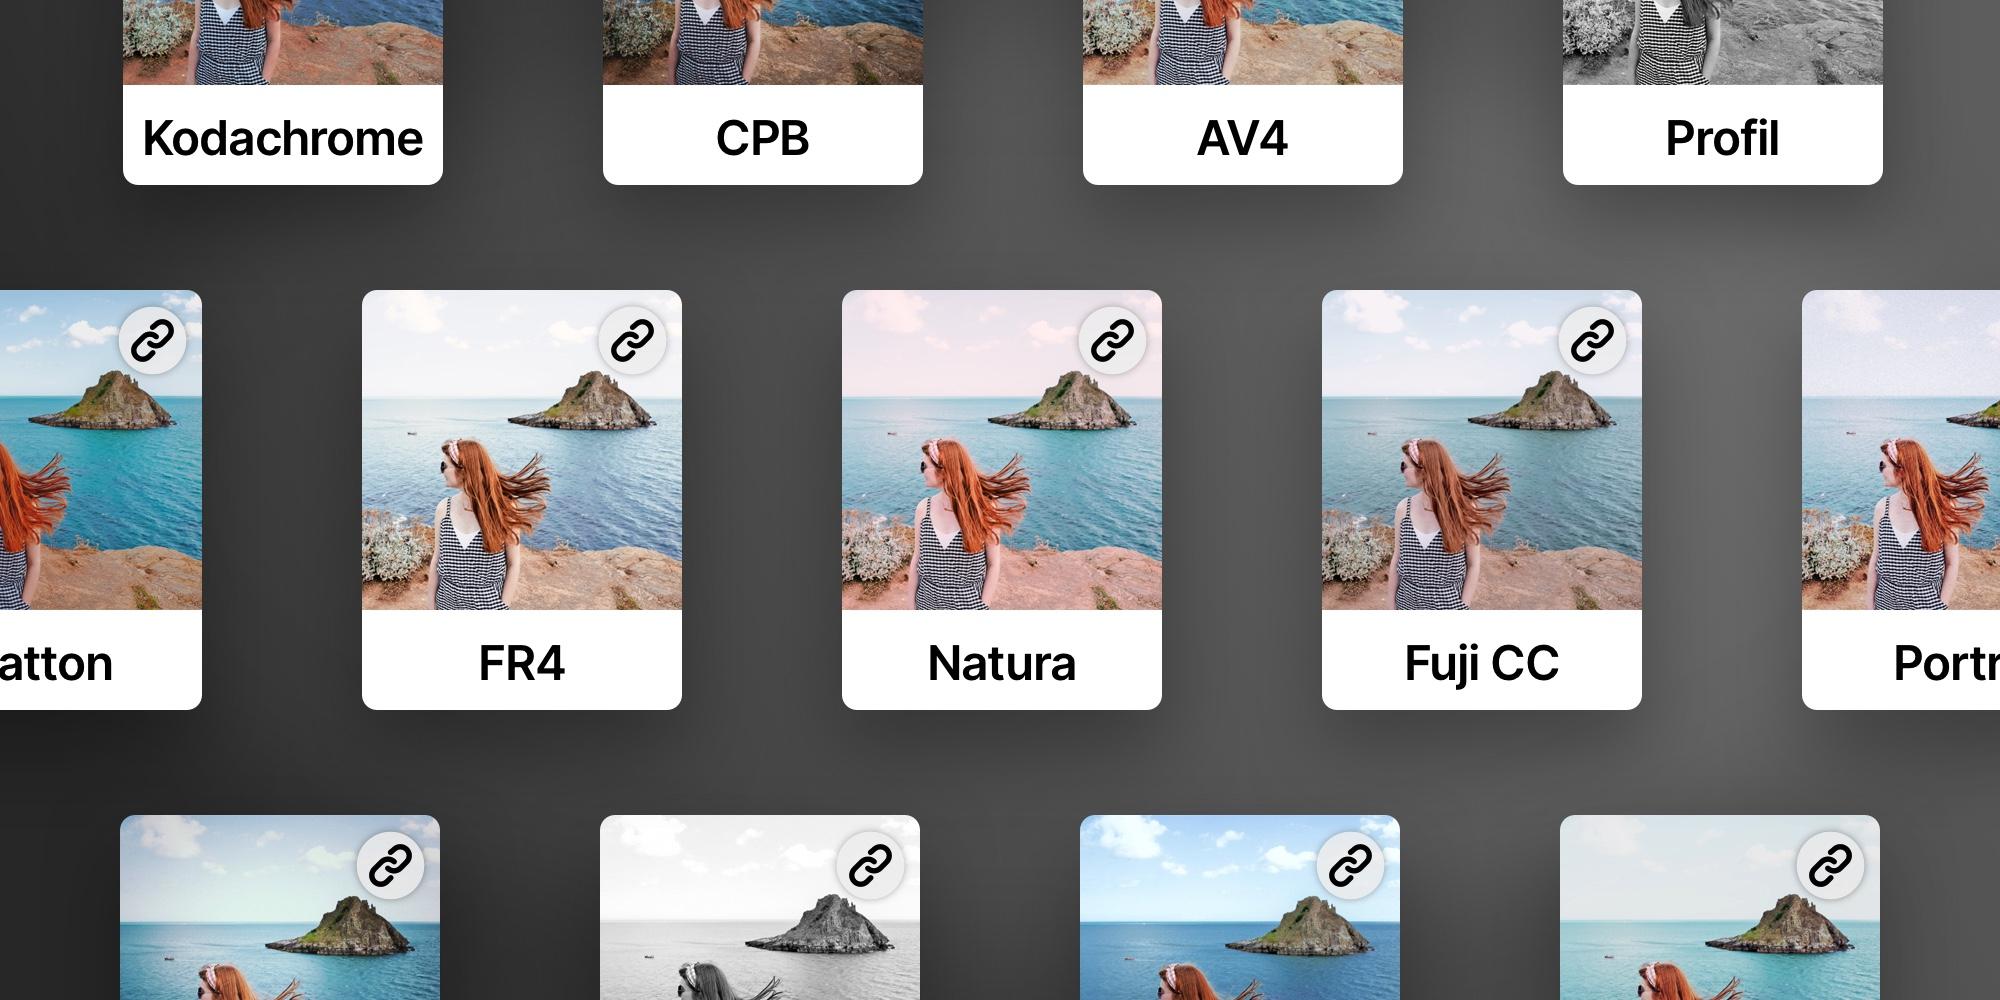
A preset is essentially a collection of editing commands that allow you to quickly attain a specific look or style in your photographs, applied in one go instead having to apply each edit individually. They're an incredibly handy tool, offering a solid starting point and streamlining the photo editing workflow, while ensuring your photos maintain a consistent visual look.
How to create a preset
If you are simply wondering what steps to take to practically create a presets:
- Make sure you have opened a photo and have made edits.
- Go to the preset tool and tap the “Create a New Preset” button.
- Finally, giving it a name in the dialog that appears.
- Your newly created preset will now show in the “My Presets” section.
That’s it, you are done creating a preset.
Now, we made the below quick and easy to follow tutorial video to help you get started with creating a preset. It’s a great way to get a feel for the process and see how it’s done. However, if you are looking for a more in-depth guide, keep reading as there are more considerations when creating your preset. The key of these considerations is to strike a balance between personal style and universal versatility when developing a preset.
Develop your own custom preset
Creating a preset solely by experimenting with sliders while looking at a photo can be challenging. It is creatively more effective to begin with a clear goal in mind, so that you can determine when you have achieved your desired result.
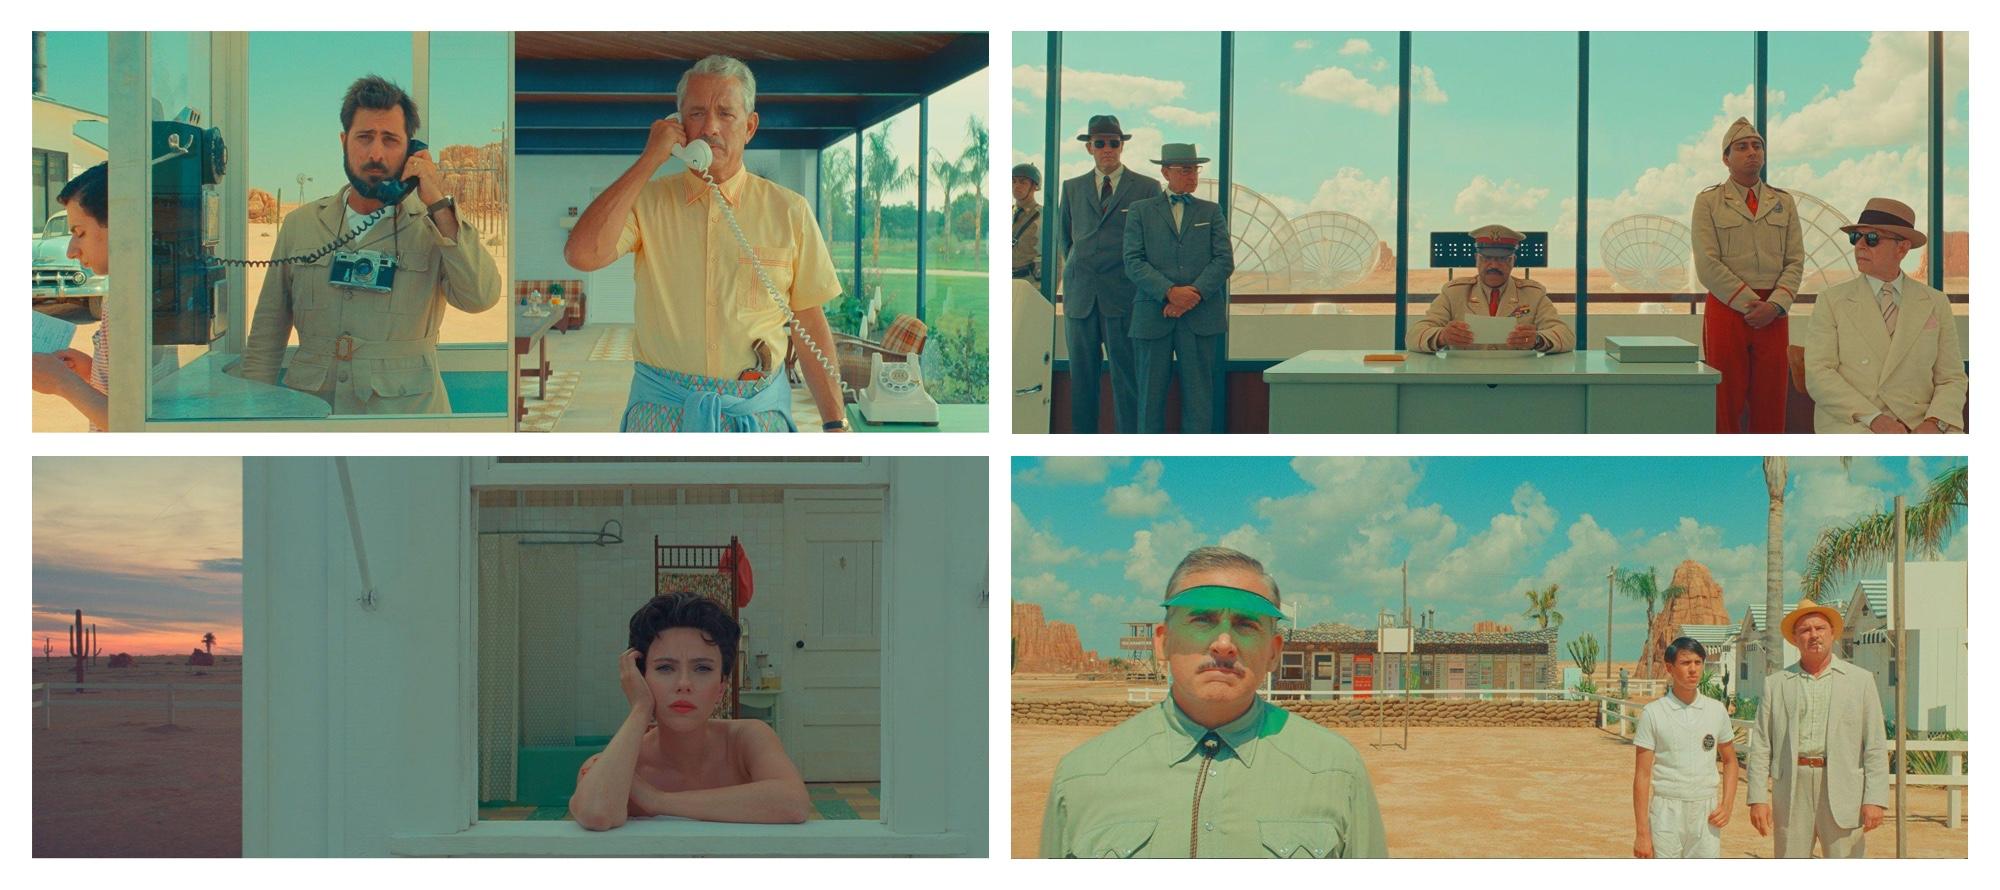
When determining your style, it is important to try and analyze your preferred aesthetic and mood. Consider the overall look and feel that you want to convey in your photos. Are you attracted to vibrant and vivid colors, or do you prefer a more subtle and muted palette, or perhaps even black and white? What emotion do you want to impart on your photos, bright and fun, or dark and moody? Do you lean towards a clean and minimalist style, or do you prefer a bold and dramatic approach? Perhaps you want to replicate a specific look that you have seen before? At this stage, there is no right or wrong answer; it is subjective, so focus on what you personally like.
It is very helpful to gather example photos that you admire to create a mood board. This can serve as a reference point as you develop your preset. Platforms like Pinterest and Instagram are great sources of inspiration to start with.
Inspect, play and learn
Collecting photos of looks you like, and trying to recreate the look is a well established and great way to learn and create presets. Playing around with the different tools to recreate or match a look is a great way to learn how to create a preset. What you might not have realized, is that when you apply any of the bundled or community presets in Darkroom, you can inspect all the tools to see and learn exactly what tools and specific edits where used to achieve that look! Dissecting or recreating presets offer a fantastic learning opportunity. By understanding the adjustments and choices made in a look, you can gain deeper insights into advanced color grading techniques.
Create an opinionated first preset
Start by making bold and significant changes. Don't be afraid to push the limits of each tool. Sometimes the most unique and personal presets come from unexpected tweaks and adjustments. Often, we tend to make subtle changes that are not distinctive enough. Once you have an opinionated starting point, it becomes easier to gradually tone it down where necessary.
While it is possible to create a single preset that works on any photo, it can limit your ability to enhance the colors in the photo. That's why we recommend starting with a specific look that you like, and then consider creating variants of that preset that work well for bright/dark or flat/contrasty photos. Having a naming system, which we will discuss later in this guide, allows you to easily identify which preset works best for different photos.
Tools to use in Darkroom
When creating your own presets in Darkroom, it is recommended to primarily use the curves, color grading, selective color, and masks tools for making adjustments. These tools offer a wide range of flexibility and control over the editing process. Use the Selective Color tool to make the blues in a summer sky more vibrant, or employ Masks to subtly darken the background in a busy street scene. By excluding basic adjustments like brightness, contrast, blacks, and whites from your preset, you enable yourself and others to freely apply the preset and separately make photo specific lighting adjustments.
If you don’t do this, your presets adjustments either won’t be applied, as the adjustments already made to the photo are prioritized and will be kept. Or, if you first apply the preset and then make adjustments the additional changes will have less available range.
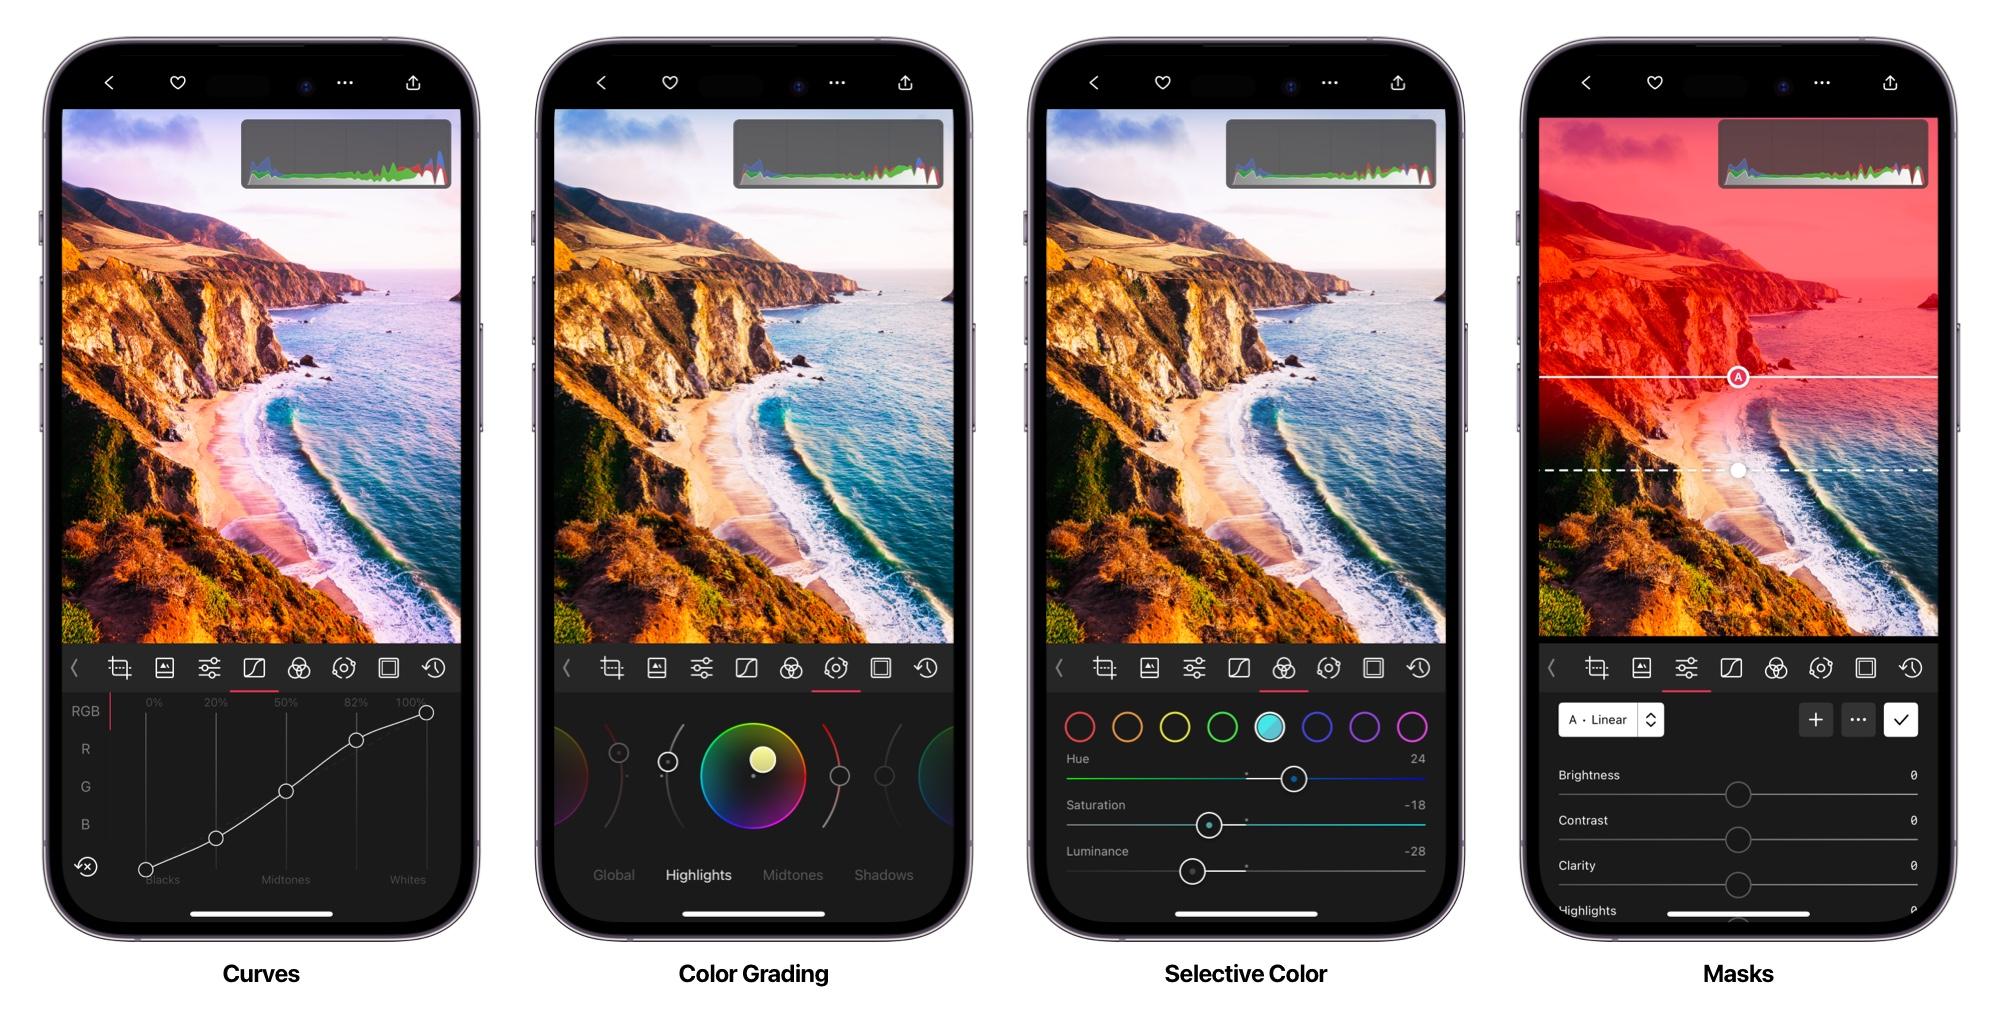
- Curves We recommend by starting with this tool first, as it allow you to adjust the basic lighting, by brightening or darkling the whole image. As well as adjust contrast by manipulating the light and dark areas of an image separately. You can create deeper blacks, brighter whites, and everything in-between, giving you more control over the overall tone and mood of the photo. And with curves support for individual colors curves can also be used to tweak colors and color casts. By adjusting the curves for individual color channels (like red, green, and blue), you can correct color imbalances and enhance tones in a way that's often more precise than using the selective color tool.
- Color Grading wheels make it easy to visually adjust the balance of colors overall, or in your shadows, mid-tones, and highlights specifically. By simply dragging a point around the wheel, you can add or reduce specific colors in these tonal ranges. This is super handy for creating a balanced or stylized look, with the ability to make the whole photo, or just the shadows, look warmer or cooler.
- Selective Color enable quick control over individual color regions, giving you the ability to adjust their brightness, saturation and shift their hue. Want to make those blues pop in the sky, or shift them to teal, or make the grass seem more green and saturated. Be careful when using the red and orange tones as they tend to significantly impact skin colors.
- Masks are a pretty advanced and powerful way for you to layer different color adjustments on top of each other. This means you can have one set of color adjustments for the background and a different set for the subject, all within the same preset. It's like having multiple presets in one. By adjusting colors in specific areas, you can guide the viewer's eye and create a sense of depth. For instance, you might want to desaturate the background while keeping the subject in full color, drawing attention to them.
Add subtle effects for visual interest
Vignettes, grain, masks, and even clarity can add subtle yet impactful effects to your photos, enhancing visual interest and directing the viewer's attention. Experiment with vignettes and masks to darken the edges of the frame slightly, drawing the eye towards the central subject. Or consider applying grain to compliment your overall editing style to gain a more vintage look. These elements can add a unique touch to your photos and contribute to the cohesive look you're aiming for.
Remember, the process of identifying your editing style and making creative choices is subjective and personal. It's about expressing your unique vision and creating a visual language that reflects your aesthetic preferences and mood. Enjoy the exploration and experimentation as you develop your editing style in Darkroom.
Testing and iterating on your preset
Continuously experimenting, evaluating, and refining your preset is the only way to truly make it your own, versatile, and over time, gain enough confidence to share it with others.
Update your preset
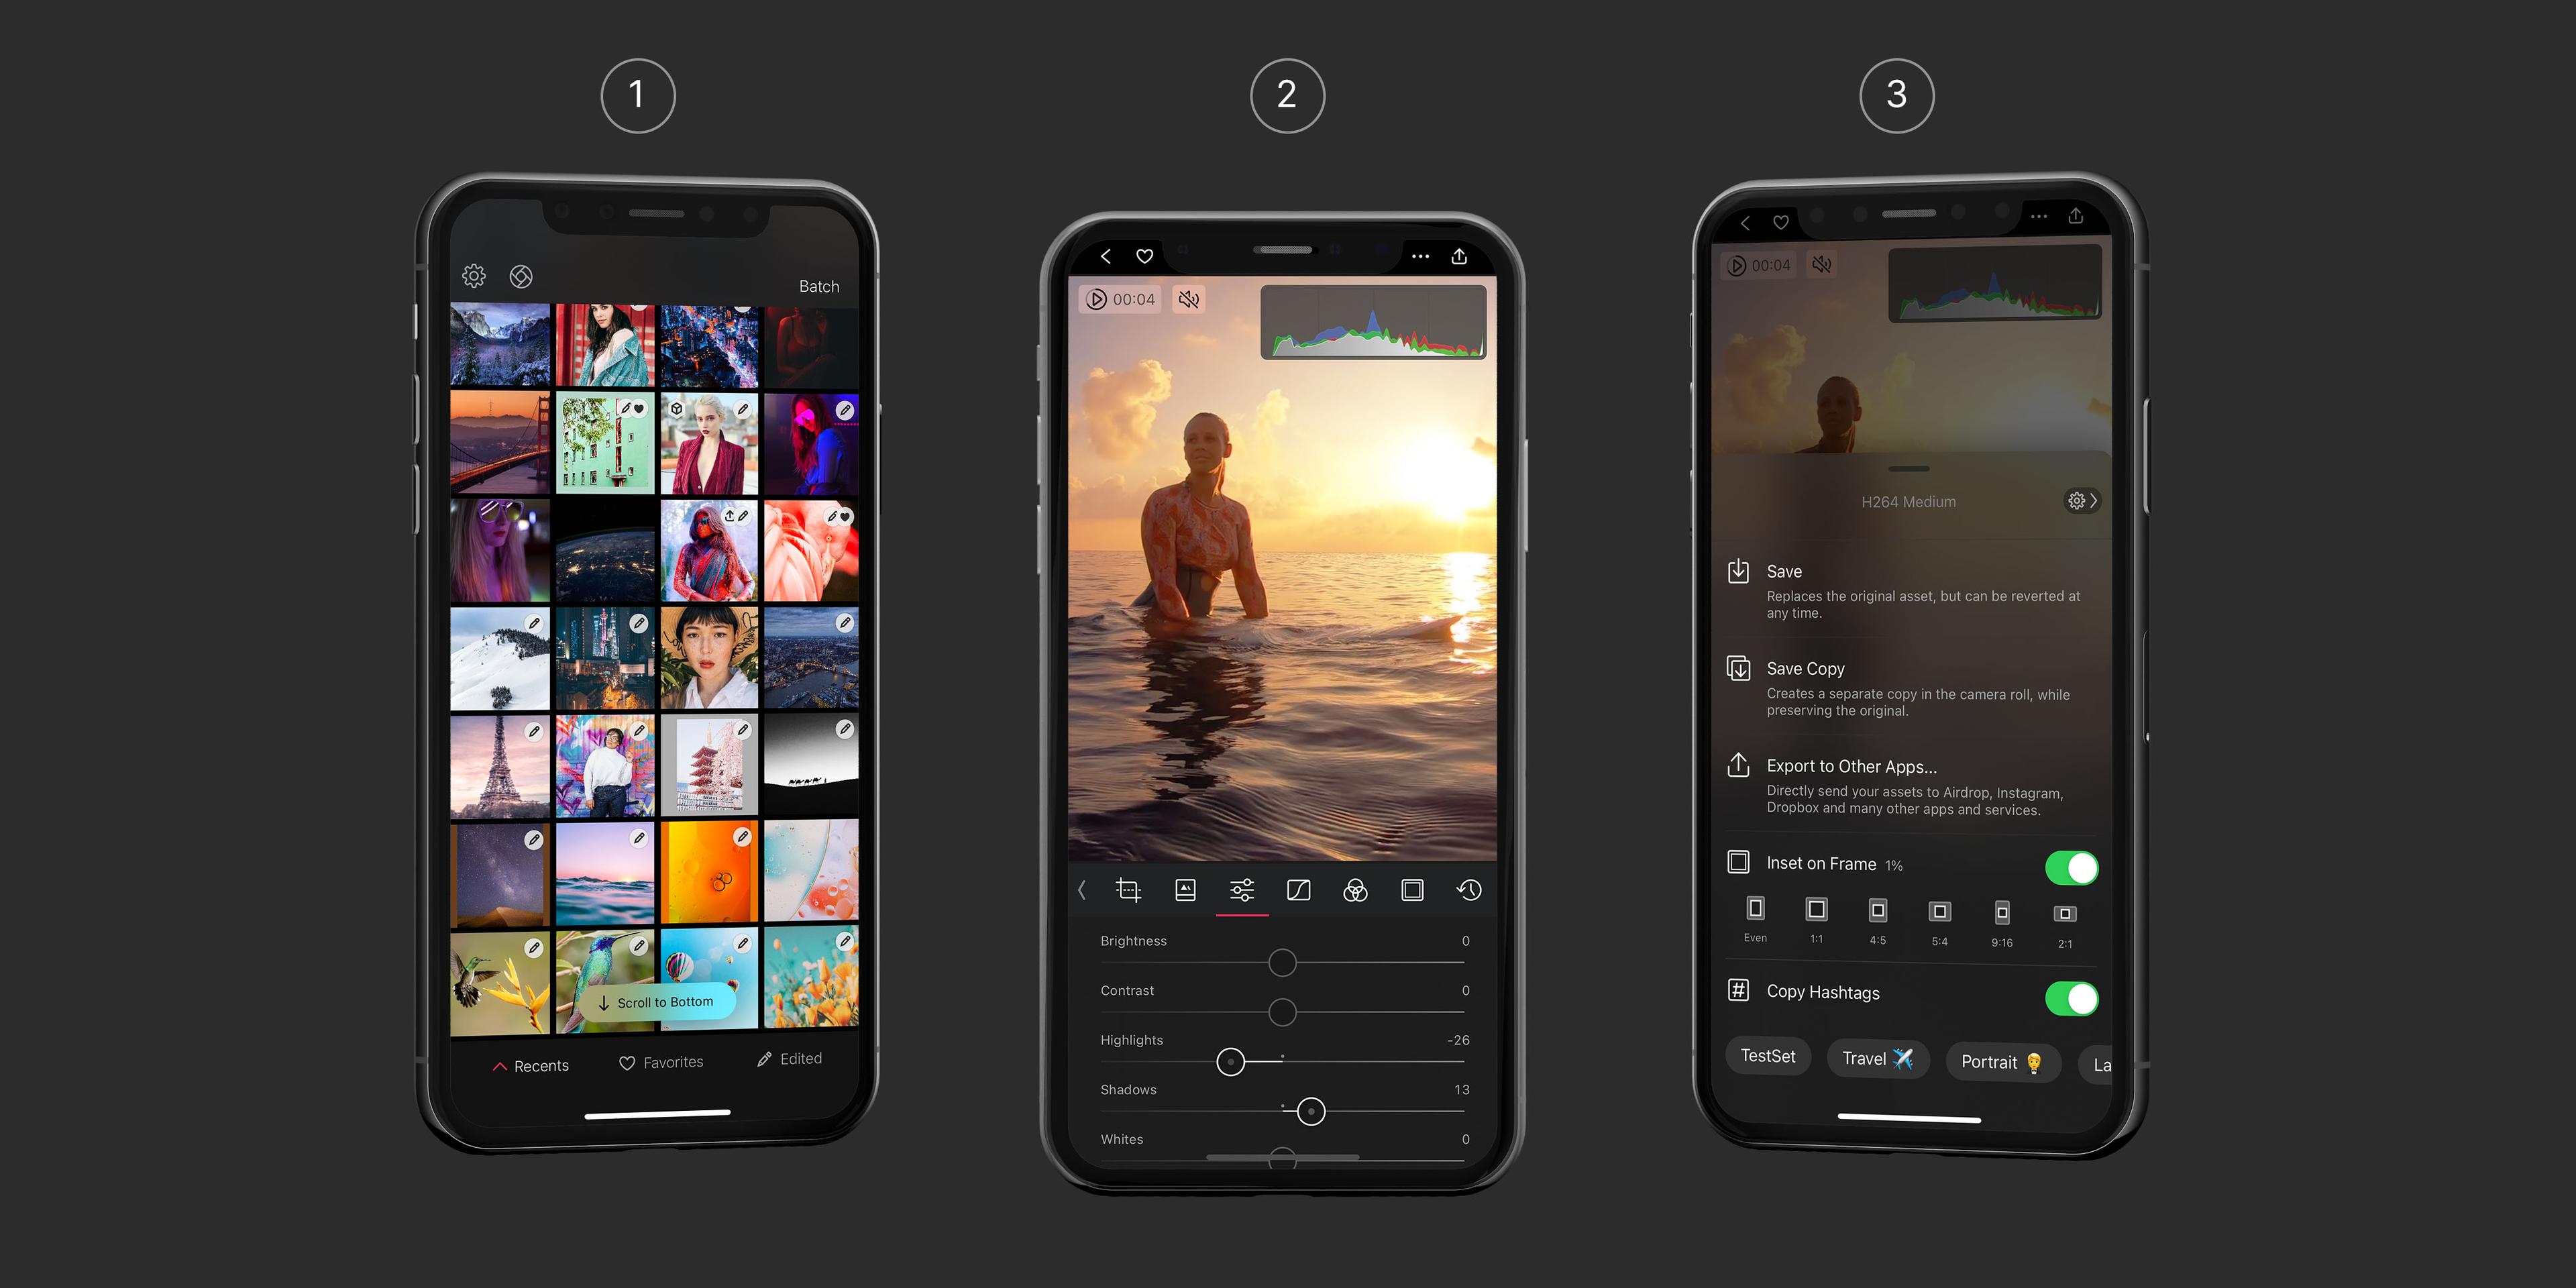
Once you have your first pass on a set of edits that you like, and you have created a preset of those edits, you will likely want to update your preset whenever you make follow up edits. We have tried to make this as easy as possible. So when you have created and applied a preset, and make any subsequent changes we will indicate that your preset can be updated by showing dot • in front of the name. To actually update it, tap the ••• preset action icon, and use the available Update button to update your preset.
Preview and Compare
To create a high-quality and somewhat broadly effective preset in Darkroom, it is crucial to preview and compare your edits throughout the preset development process on a wide range of photos. By doing so, you can iteratively refine the preset and evaluate its impact on your photos.
Tip: You can tap-and-hold on your photo to quickly see the original unedited image. Enabling you to quickly visually compare what your edits are doing compared to the original photo.
By continuously previewing and comparing your preset, you can ensure that it delivers the desired visual style and maintains a cohesive look across a range of photos. This iterative process allows you to fine-tune the preset settings, ensuring that it achieves the intended effect while preserving the original qualities of the photos.
Tip: To help in this process it can be useful to create a specific album with photos to test on. And to now end then export a few photos with the preset applied into a separate album. This way you can look through both originals, and previous version to compare changes made over time.
Ensure compatibility with different subjects and skin tones
When applying your preset to different photos, it's important to ensure compatibility with various subjects and specifically skin tones. Each photo may have unique characteristics that require adjustments to achieve optimal results. Pay attention to how your preset affects different types of photos, such as landscapes (sky, water, vegetation), portraits (skin tones), or still life shots. Skin tones are specifically very important, so make adjustments if necessary to maintain a natural and pleasing appearance. Be careful not to brighten or darken skin tones (near orange) specifically as that can easily cause unintended results.
Naming, sharing and gathering feedback
It can take a bit of time to develop a preset. It’s actually very good practice to just leave it be for a while to then come back to it with a fresh set of eyes. Either way, have fun with the process, don’t feel the need to rush it.
Name your preset
By now we are pretty sure you have already given your preset a name as you have been developing it. You might have noticed that giving it a short name has helped as there aren’t a lot of characters available.
For the presets bundled with Darkroom we developed a naming convention. Perhaps you will find it useful. This can be especially useful if you want to develop a set of presets. But if you want to develop presets that stand on their own you can also just give them fun short names.
So, what are these Darkroom preset names; C100, I250, etc? The letter (C) represents the set name (Cinematic). The first number represents the main variant (C100), the second number a subtler or stronger sub-variant (C110).

Share to gather constructive feedback
To Share your preset, tap the ••• preset action menu, and use the Share option you will find in the Preset actions options. When you do that we will upload your preset and create a unique URL, which you can then share with anybody.
To further refine and improve your preset, it can be valuable to seek feedback from others. Sharing your preset with the Darkroom community or trusted peers can provide valuable insights and constructive criticism. By gathering feedback, you can identify areas for improvement, address potential issues, and enhance the overall quality and usability of your preset. Embrace the opportunity to collaborate and learn from others to create a preset that resonates with a wider audience and contributes to the Darkroom community.
Tip: Once a preset is shared, you have the flexibility to un-share it, make updates, and share it again, ensuring that all users have access to your latest changes.
In conclusion, creating your own presets in Darkroom allows you to establish a unique and consistent editing style for your photos. By inspecting and learning from existing presets, using the recommended edit tools, and identifying your preferred aesthetic and mood, you can craft presets that reflect your personal vision. So go ahead, unleash your creativity, and develop presets that bring your photos to life in a distinctive and captivating way.
