Bloom & Halation
Bloom and Halation recreate the way light used to behave in old lenses and on film — the soft glow around a streetlight, the warm halo bleeding around a backlit subject's hair. They're the difference between a photo that looks captured and one that looks remembered: dreamy, atmospheric, a little nostalgic.
Both effects come from how light diffuses through glass and film, and they complement each other. Bloom softens and spreads the brightest areas outward into a gentle glow. Halation is more subtle — a warm orange halo that forms only on the hard edges of high-contrast highlights, exactly like vintage film. You'll find both inside Adjustment Sliders under Texture, so build your base tonal edit first, then add them as a finishing touch.
Both are Darkroom+ tools. As with every premium tool in Darkroom, you can open them, experiment freely, and see exactly what they do to your photo without a membership — a membership is what's required to export a photo that uses them.
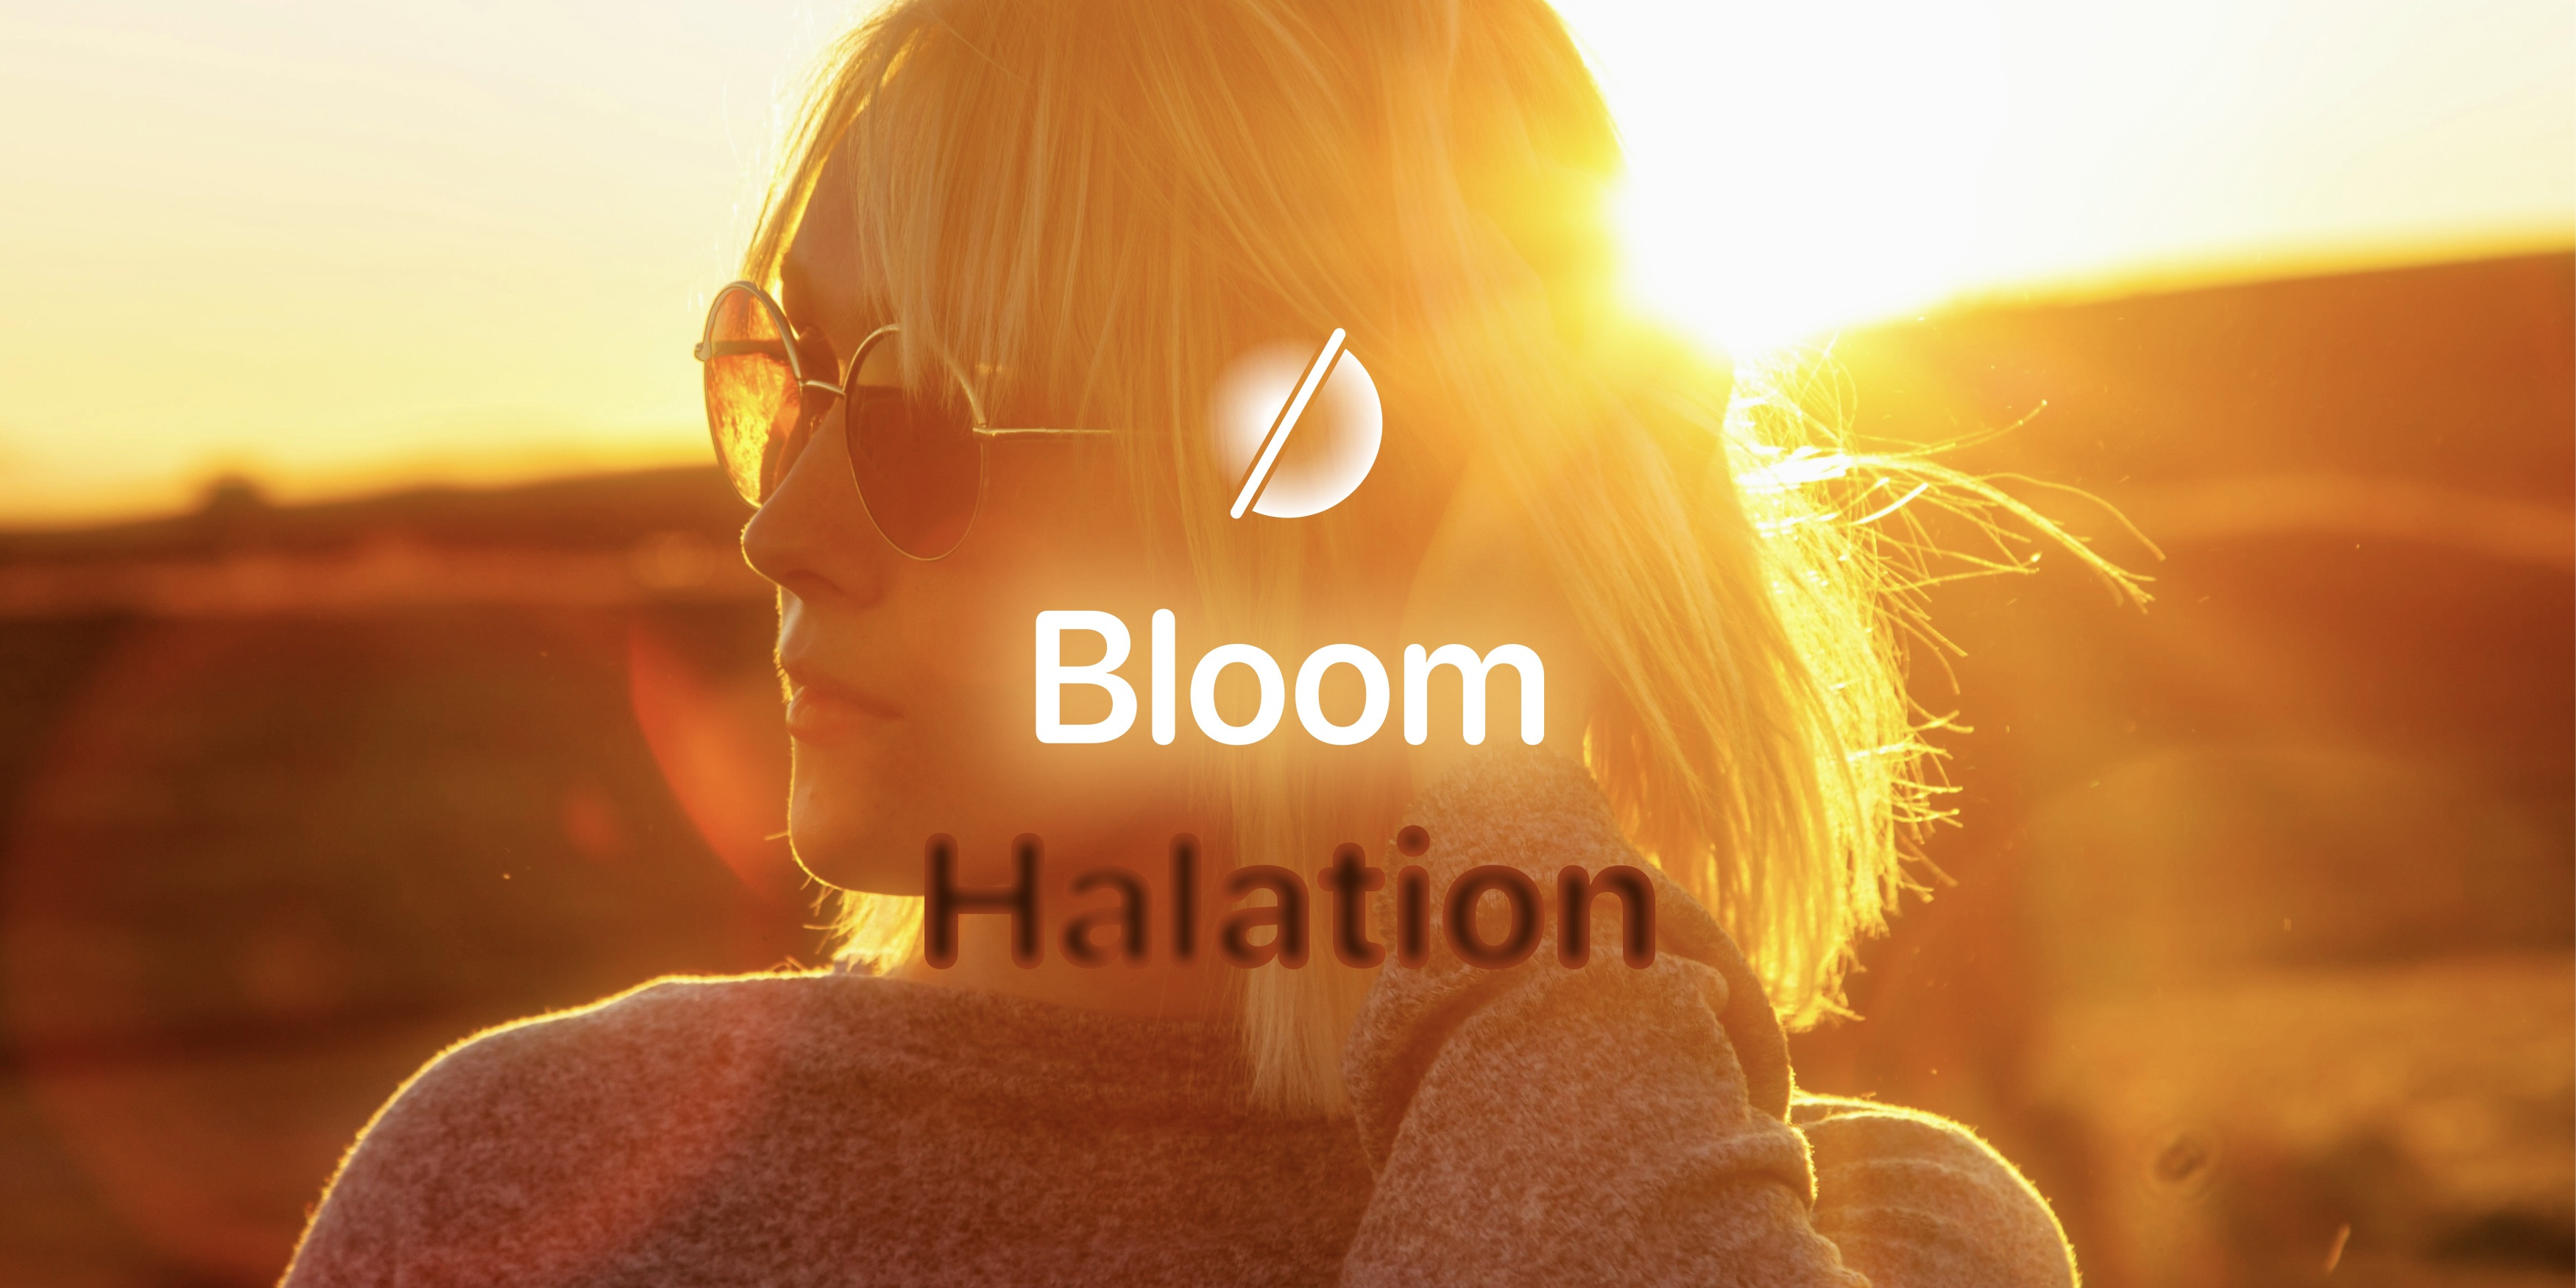
Bloom: a soft, glowing light
Bloom makes the brightest parts of a photo bloom outward, wrapping light sources and bright edges in a gentle, radiant glow. Photographers used to chase this look physically — smearing a little vaseline on a filter, or stretching a stocking over the lens — to soften highlights while keeping the focal point sharp. Bloom gives you that ethereal quality with a single slider.
It's at its best wherever light is part of the story: golden-hour and backlit portraits, where it adds a flattering glow to skin; night scenes, where it softens harsh streetlights and neon into something cinematic; weddings and events, for romantic, emotional moments; and sunrise/sunset landscapes, where it tames the sun and smooths the transition between bright sky and darker land. Try pairing it with the Exposure and Highlights sliders to shape the glow, or a touch of Color Grading to warm a golden-hour scene.
Halation: warmth at the edges
Halation adds a subtle red-orange glow around high-contrast edges, the kind you'd get when light scattered through a film's layers and reflected back. On film it was an imperfection manufacturers tried to suppress; photographers loved it anyway, because it lends an unmistakable vintage warmth and character.
Because it works on contrast, Halation depends on the light in your scene. Backlit portraits, high-contrast scenes, and urban night photography light it up beautifully; an evenly lit, low-contrast frame may show almost nothing. That's expected — reach for Halation when there's drama in the light, and lean on more Contrast or the Shadows slider beforehand to give it edges to work with.
Using them together
Bloom for atmosphere, Halation for edge warmth — used together and kept restrained, they build a cohesive, filmic look. Add a little grain or fade and you've got a convincing analog rendering. The usual caution applies: these effects stack quickly, so start low. If glow turns to haze and your image goes flat, pull Bloom back before touching contrast.
Frequently Asked Questions
Do Bloom and Halation require Darkroom+?
Yes, for export. Both are Darkroom+ tools, but you can open them and experiment freely without a membership to see exactly what they do — a membership is required to export a photo that uses them.
I turned Halation up and nothing happened.
Halation only forms on the hard edges of bright, high-contrast areas, so a flat or evenly-lit scene gives it nothing to act on. Try it on a backlit subject, a neon sign, or a bright window against a dark interior. Adding contrast or lifting your highlights first will often give the effect something to grab.
What's the actual difference between Bloom and Halation?
Bloom is an outer glow — it spreads the brightest areas outward into a soft, dreamy diffusion across the whole highlight. Halation is an inner, warmer, more localized effect: an orange halo that forms just inside the hard edges of high-contrast highlights, mimicking light scattering through film. Bloom changes the mood of a photo; Halation adds a period-specific detail.
When should I apply them in an edit?
Last. Both react to your highlights, so build your tonal edit first — if you add Bloom and then raise your exposure, the glow will grow with it and usually overshoot. Treat them as finishing moves, and keep the values lower than feels right on first pass.
Related
- Bloom & Halation: an analog-inspired guide — the origins and deeper technique
- Adjustment Sliders — where Bloom and Halation live, under Texture
- Color Grading for cinematic, golden-hour tones
- Vintage Film look for a full analog workflow