Edit View
The Edit view is your darkroom: the workspace where you inspect detail, compare before and after, and reach for every tool. Open any photo or video from your library grid to enter it. The toolbar sits along the bottom on a phone and to the side on larger screens, and the ••• action menu holds share, export, and copy/paste. Everything you do here is non-destructive — edits render live on top of the original, so you can change or undo any of them at any time, and your file isn't actually altered until you export.
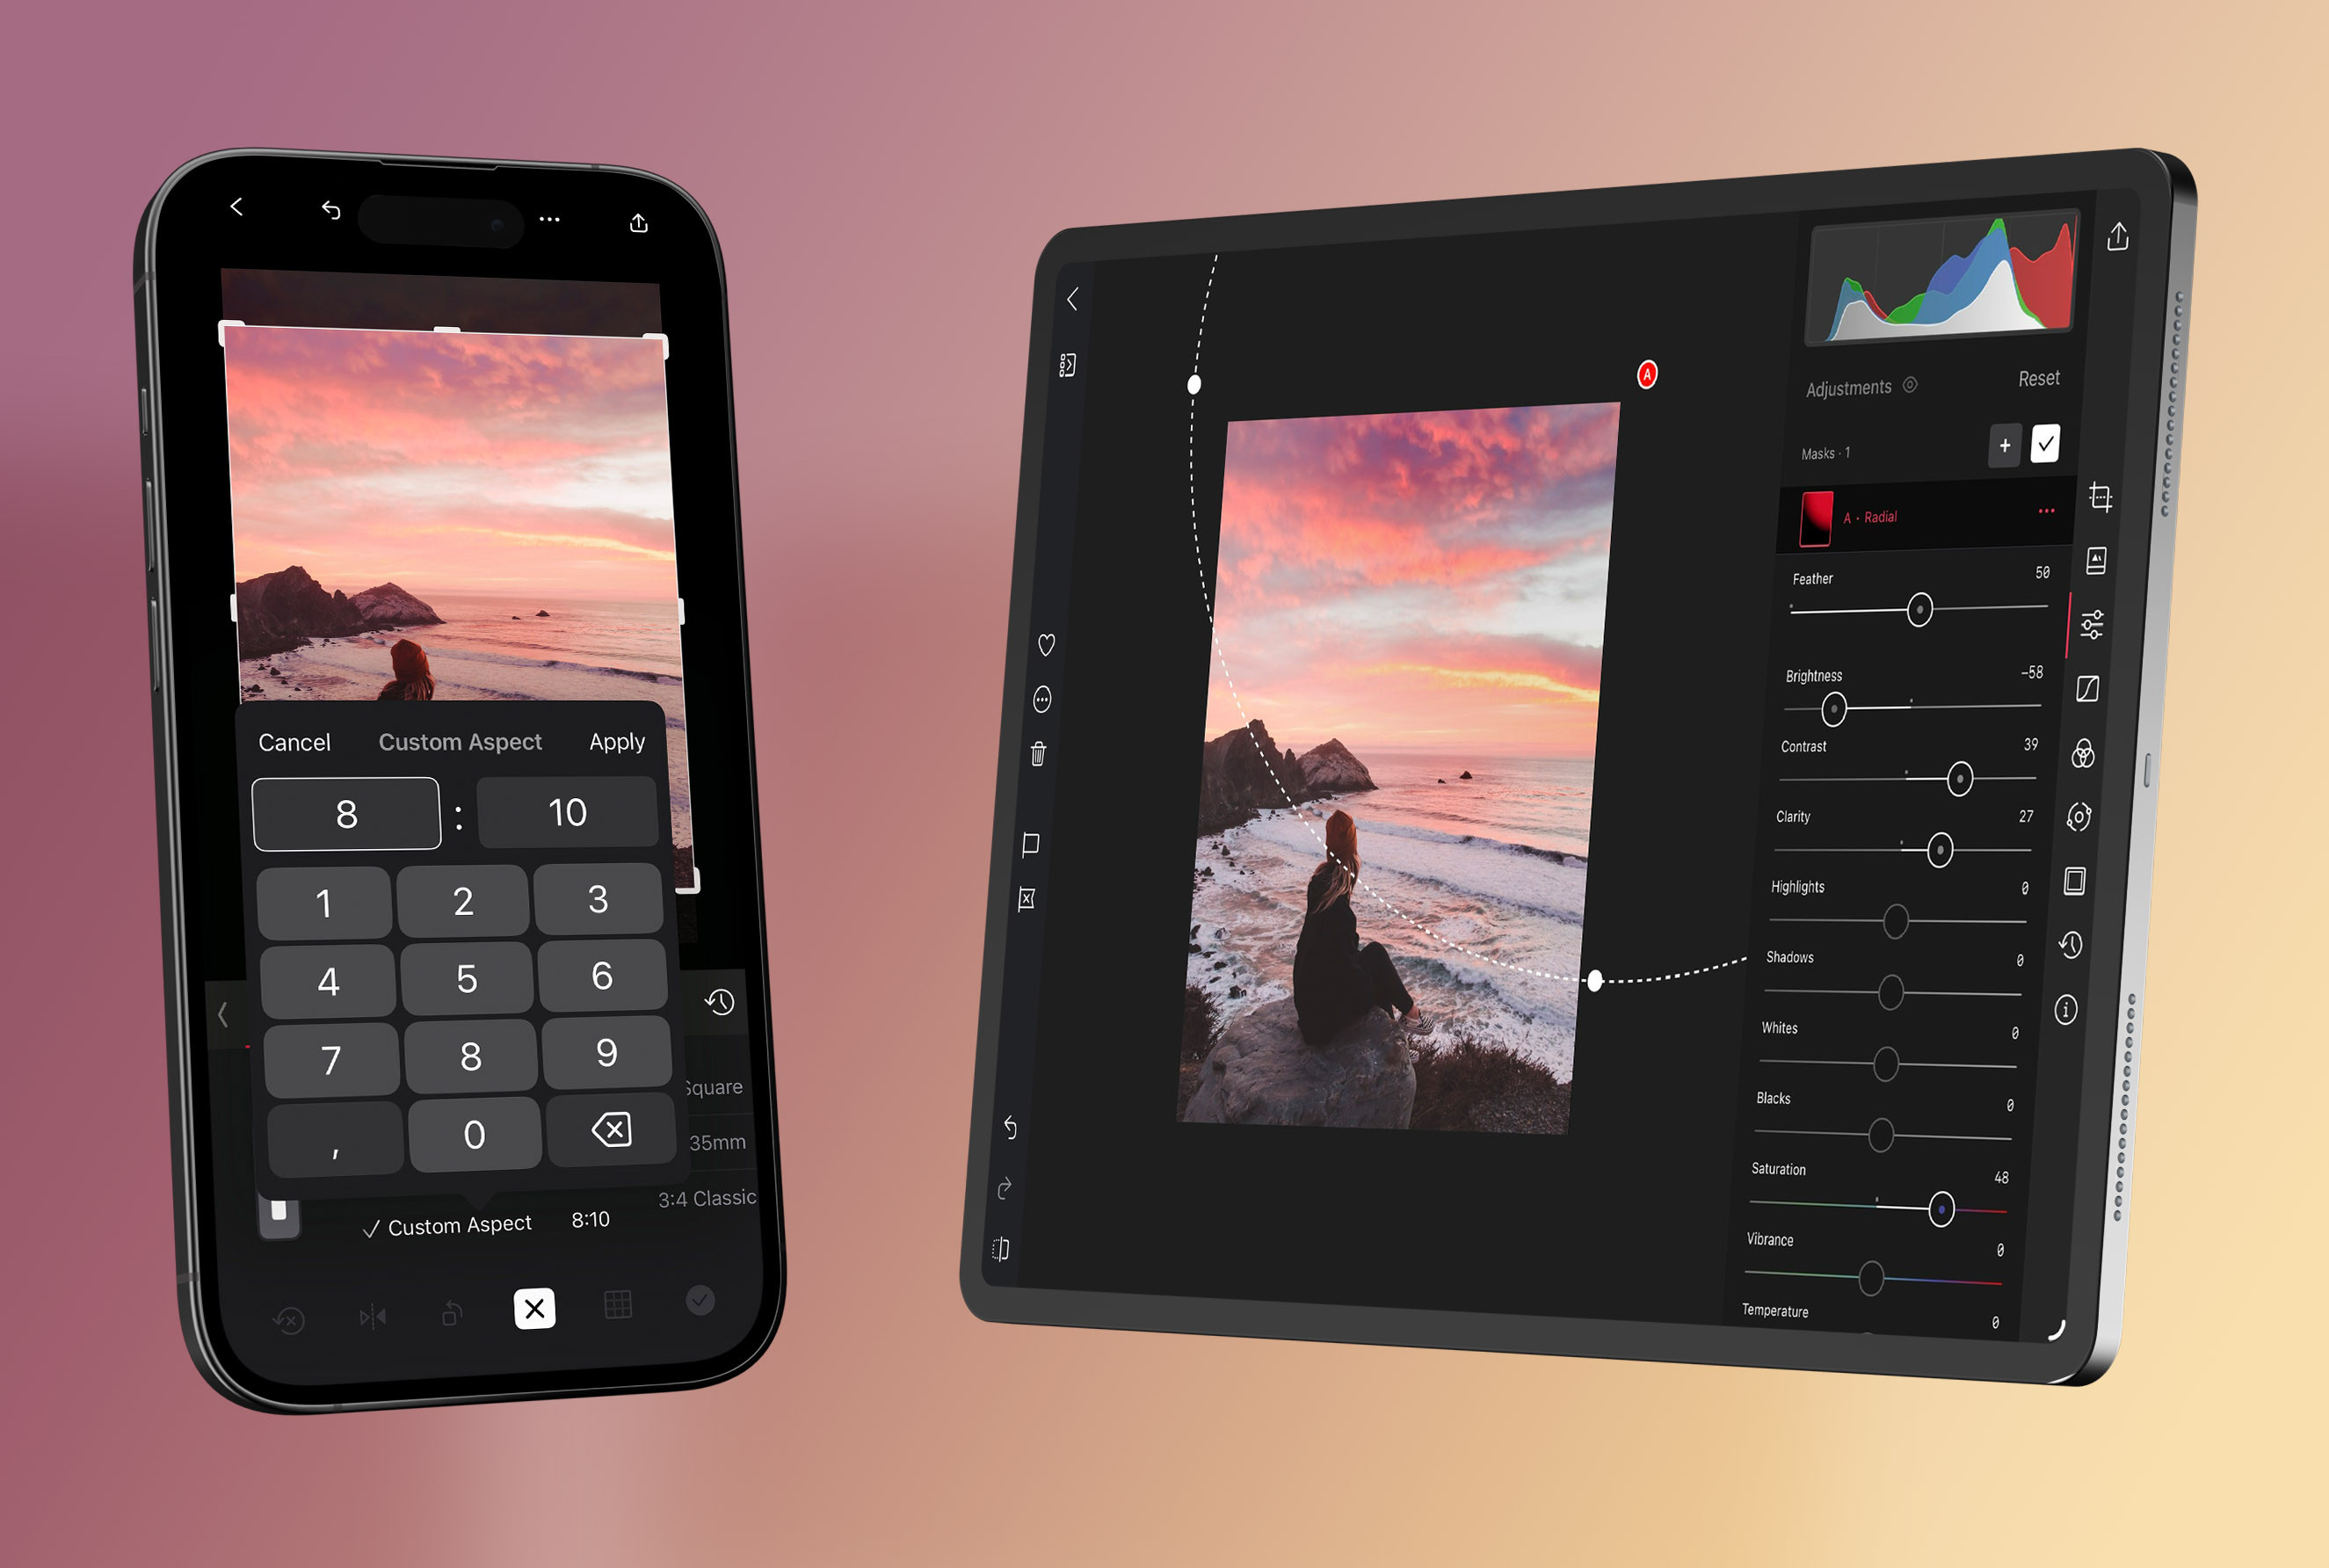
A couple of habits make everything that follows easier: pinch or double-tap to zoom in for detail and back out to judge overall balance, and tap and hold the image to flash the original so you can see whether each change is actually helping. Turn on the Histogram for an objective read on exposure, and judge on a neutral screen brightness.
Setting up your workspace
Two viewing controls are easy to miss and worth turning to your advantage.
You can zoom out past "fit to view" so the photo sits smaller than the available space, surrounded by canvas. It sounds like a curiosity, but it's genuinely useful twice over: pulling back gives you a distant read on balance and composition that's hard to get when the image fills the screen, and it's what makes it possible to place Linear and Radial masks whose origin sits outside the frame.
The canvas background color behind your photo is adjustable and independent of whether the interface is in light or dark mode. A neutral mid-grey is the honest default for judging color and contrast, since a very dark or very bright surround will push your perception of the image's tones in the opposite direction. If you're editing for a specific destination, matching the canvas to it — white for print, black for a full-bleed feed — gives you a much better preview of how the photo will actually land.
A map of the tools
Start with the frame. Composition comes first — set your crop, straighten, and geometry in Crop, Rotate, and Transform before any color work, since later edits depend on it.
Get a head start. A Preset applies a complete look in one tap that you can then refine, and it's the fastest route to a strong, consistent result.
Shape light and color. The Adjustment Sliders handle exposure, color, and texture and are where most edits live — including White Balance. From there, Curves give precise control over brightness, contrast, and tone, with HSL Curves for continuous hue, saturation, and luminance; Color (HSL) targets individual color families; and Color Grading tints shadows, midtones, and highlights for mood.
Work locally. When a change should affect only part of the frame, Masks let you brighten a subject or hold back a sky without touching the rest.
Add character. Bloom & Halation bring analog-style glow and warmth, and Frames wrap the finished image for its destination.
Check your work. The Histogram keeps exposure and color honest, and Metadata tells you how the shot was captured.
Stay efficient. History handles undo/redo, reset, and copy/paste across a set, and the whole toolset applies to motion in Video too.
Related
- Interface Overview — how the library, editor, and export fit together
- Keyboard Shortcuts for faster navigation and editing
- Export View — saving and sharing your finished edit