Interface Overview
Darkroom is built around three places: the Library, where you browse and organize; the Viewer, where you look closely and edit; and Export, where you save or share the result. Almost everything you do is a loop through those three. The layout adapts to each platform — a phone gets gestures and a floating tab bar, a Mac gets a sidebar and a menu bar — but the vocabulary stays the same, so moving between your devices costs you nothing.

The Library
The Library is your photos as they already exist. Darkroom reads directly from your Apple Photos library, so there's no importing and nothing copied to our servers — grant access to your whole library and everything is simply there, or grant it one photo at a time if you'd rather.
Opening a photo follows each platform's instinct: tap on iPhone, iPad, and Vision Pro; double-click on Mac. Once you're in, swipe left and right on a touchscreen or use the arrow keys on iPad and Mac to move through the album without going back to the grid.
Getting to your albums works differently on a phone than on a larger screen. On iPhone the tab bar is Library, Recents, Favorites, and Edited. Library opens the album list; the other three open those collections directly. On iPad, Mac, and Vision Pro, the album list is a permanent left-hand sidebar. Either way you get Apple's smart albums (Recents, Favorites, Edited, plus RAW, Videos, and Live Photos), Imported for photos you brought in yourself, Flagged and Rejected from a culling pass, your shared albums, and your own albums and folders, all synced through iCloud.
Tuning the grid is worth thirty seconds of your time, because the right density depends on what you're doing. On iPhone you can change the number of columns from the grid controls or just pinch directly on the grid — zoom out to scan a whole shoot at a glance, zoom in when you want to judge individual frames. You can also switch thumbnails between a uniform square crop and each photo's original aspect ratio, which makes compositions much easier to compare, and sort by when photos were added, modified, or created.
Selecting many photos starts the batch workflow: pick a set and apply one edit, one organizational change, or one export to all of it. On Mac you multi-select by default with ⌘ and ⇧; on touch devices you can swipe across thumbnails to grab a range quickly. See Batch Actions for what you can do once a selection exists.
Settings lives behind the gear icon on iPhone, iPad, and Vision Pro, or under the Darkroom menu on Mac. It's worth a slow scroll — export defaults, appearance, and your membership all live there.
The Viewer
Open a photo and you're in the Viewer, where you inspect, compare, and edit. Everything here is non-destructive: edits render live on top of your original and nothing touches the file until you export, so you can experiment freely and change your mind days later.
On iPhone this view is deliberately immersive. A zoomed photo extends to the very top of the screen and continues behind the tool area, visible through the glass surfaces around it, and the top actions are overlaid rather than sitting in their own heavy bar — the image simply feels larger while you work.
Gestures worth knowing
You can get everywhere without them, but they're the difference between using Darkroom and being fast in it:
- Compare against the original — tap and hold anywhere on the photo to flash the unedited version. This is the single most useful habit in the app; iPad and Mac also have a dedicated button, and there's an eye icon beside each tool title.
- Zoom — double-tap to zoom in and again to zoom out, or pinch to zoom anywhere and drag with one finger to pan. You can also zoom out past "fit to view" for a distant perspective on the whole composition.
- Move between photos — swipe left or right, even with a tool open, so you can edit or paste through a set rapidly.
- Hide the interface — a single brief tap clears every control so you see only the photo. Tap again to bring it back.
- Close — swipe down on iPhone and iPad, or drag the image downward on Mac.
Finding the tools
The tool bar runs along the bottom on a phone and along the side on larger screens. Tap any tool to open it, or swipe up on iPhone and iPad to jump straight to the adjustment sliders. The ••• actions menu holds the secondary items — showing the Histogram or Metadata, photo management like Add to…, and reporting an issue — and iPad and Mac surface more of them directly when there's room for it.
Once a photo is open, a photo strip of nearby frames sits alongside it on iPad and Mac — with the same context menu as the grid — and on iPhone in portrait while you're previewing, with the toolspace collapsed. Drag or tap the strip to compare and move through a set without returning to the grid.
Flag & Reject sit in the toolbar on iPad and Mac. On iPhone they sit with the photo strip while you're previewing in portrait; when a tool is open, swipe the toolbar right or tap the small ‹ arrow at its left edge to reach them.
For what each tool actually does and the order to reach for them, see the Edit View map.
Export
Because edits are non-destructive, nothing you do leaves Darkroom until you export. Save and Save Copy are the two ways out — one updates the original, the other leaves it untouched and writes a new file — and from the same screen you can share directly to another app.
Export is also where a few finishing touches live: adding a frame so a photo fits a story or reel without recropping, copying a saved hashtag set, and quick access to the settings that govern the output — file format for photo and video, watermark, copyright, and whether location metadata travels with the file. The Export View and Export Settings pages cover each choice in detail.
Across your devices
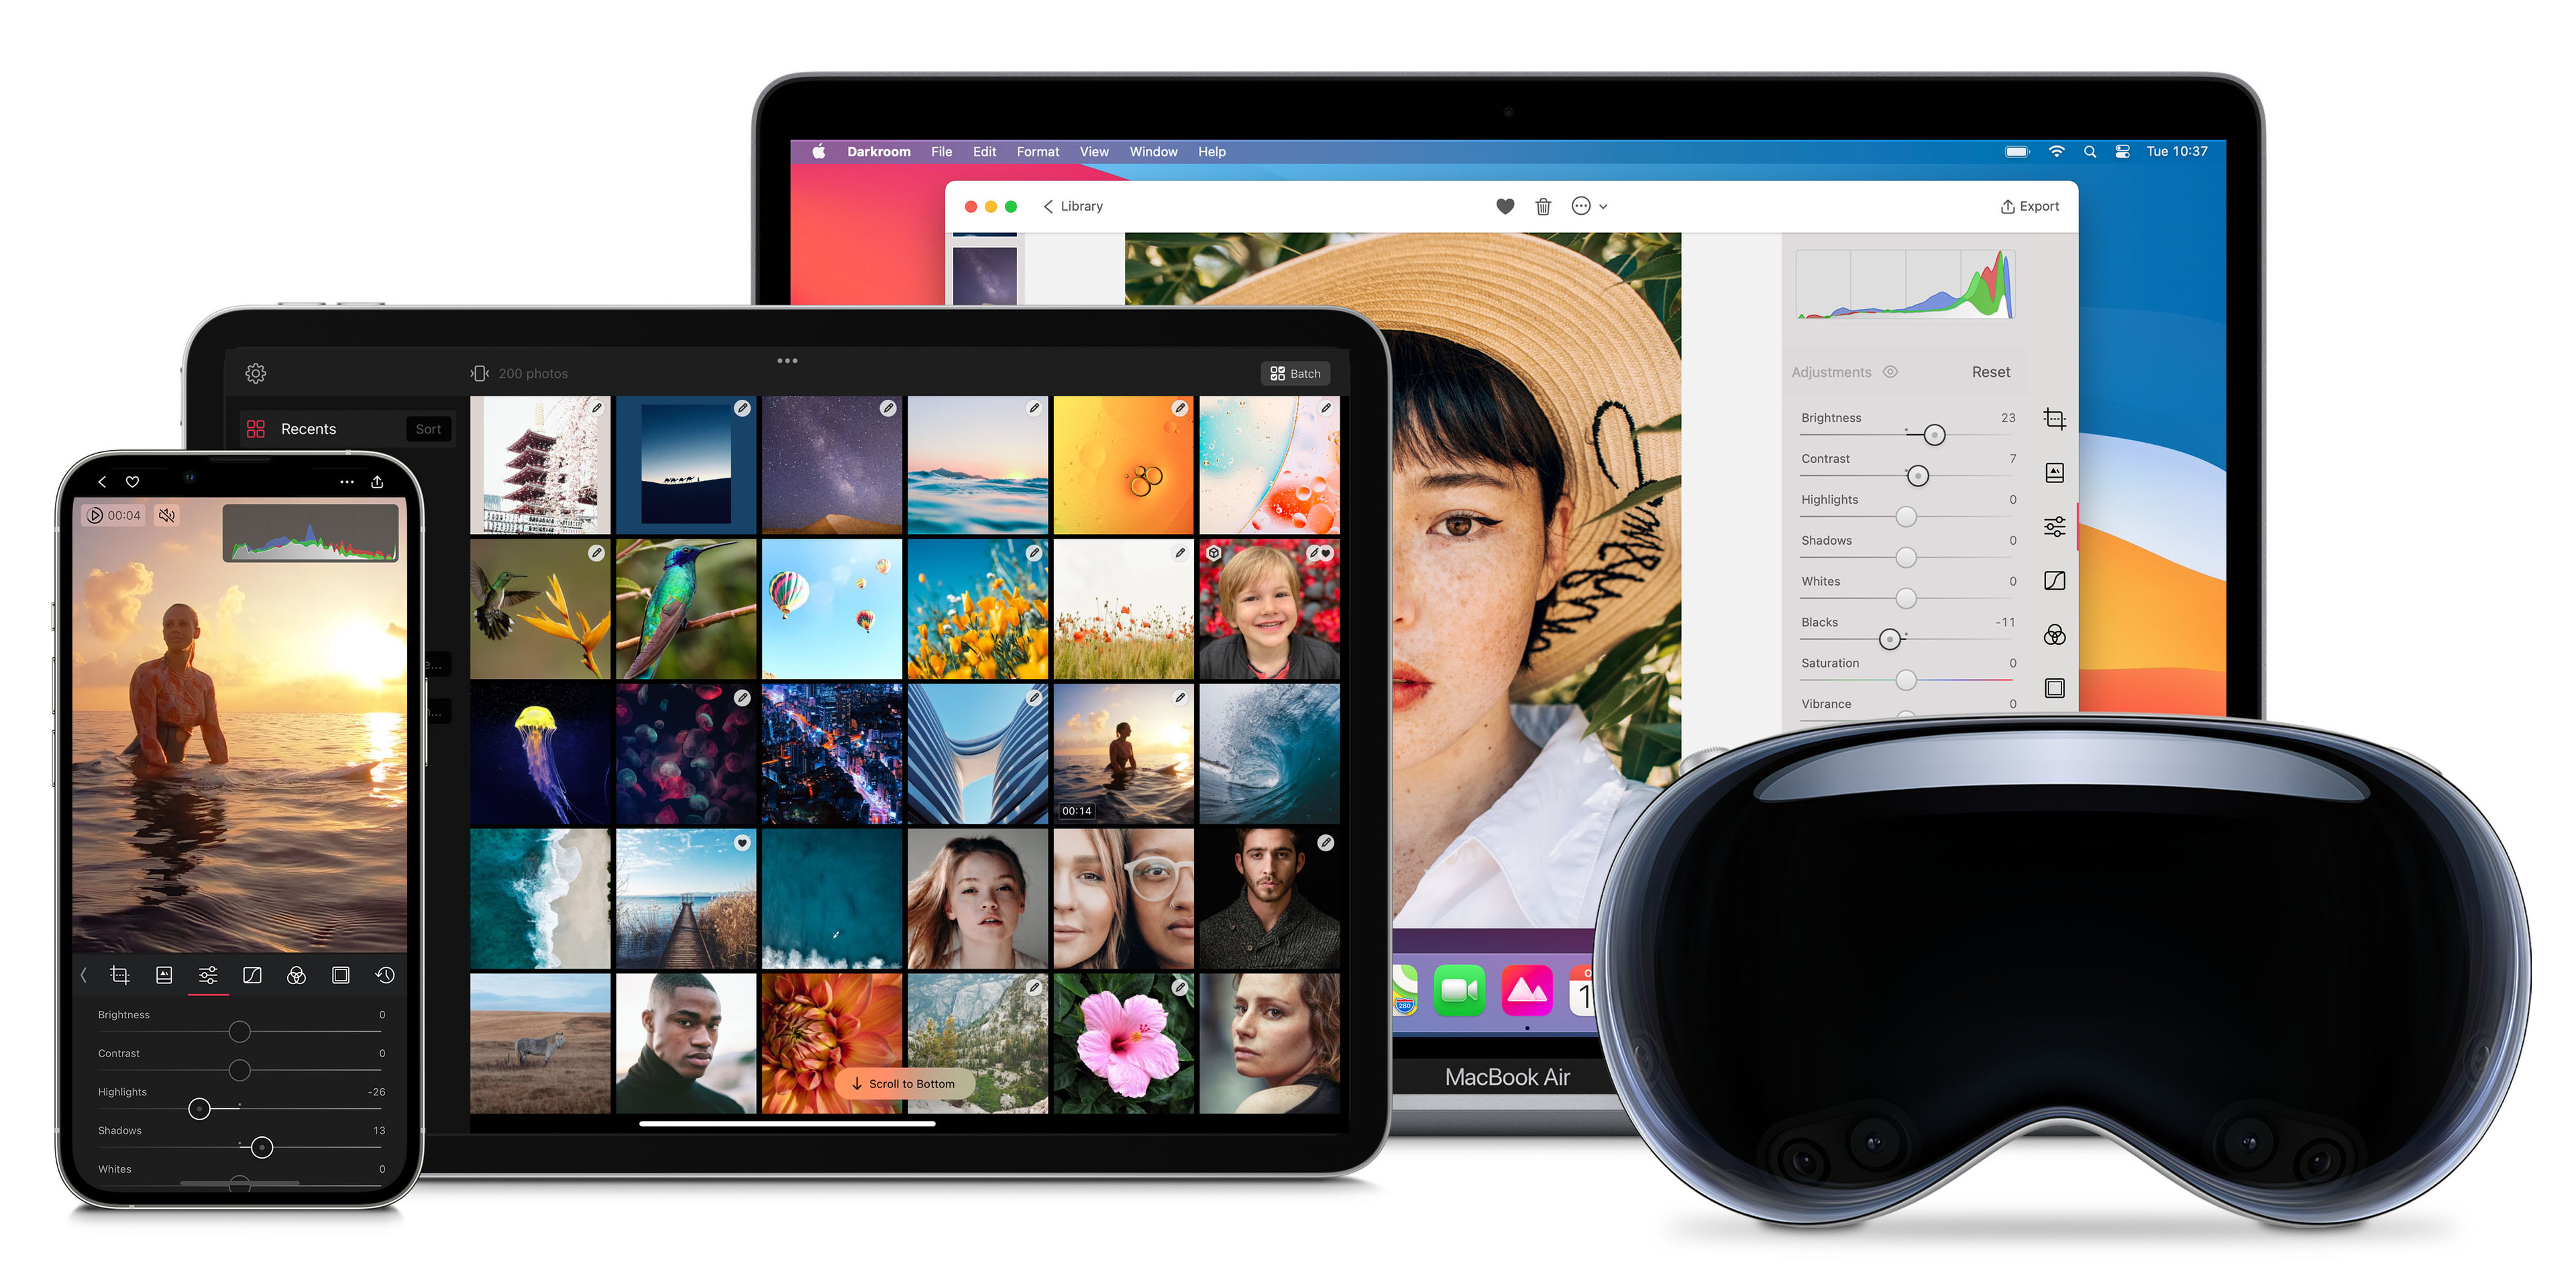
Darkroom runs on iPhone, iPad, Mac, and Vision Pro, and a Darkroom+ membership covers all of them. Each app follows its platform's conventions rather than pretending to be the same app everywhere, so a Mac gets a sidebar, menus, and a full keyboard, while a phone gets gestures and a tab bar. The details below note where a platform differs.
On Mac and iPad, keyboard shortcuts are the biggest single speed-up available — especially for culling. To discover them, hold the ⌘ key on iPad for the shortcut overlay, or browse the menu bar on Mac.
Related
- Your First Edit — a complete edit from start to export
- Library View — albums, folders, and grid options in depth
- Edit View — a map of every tool and when to use it
- Flag & Reject — culling from the photo strip and toolbar
- Keyboard Shortcuts — the full list for Mac and iPad